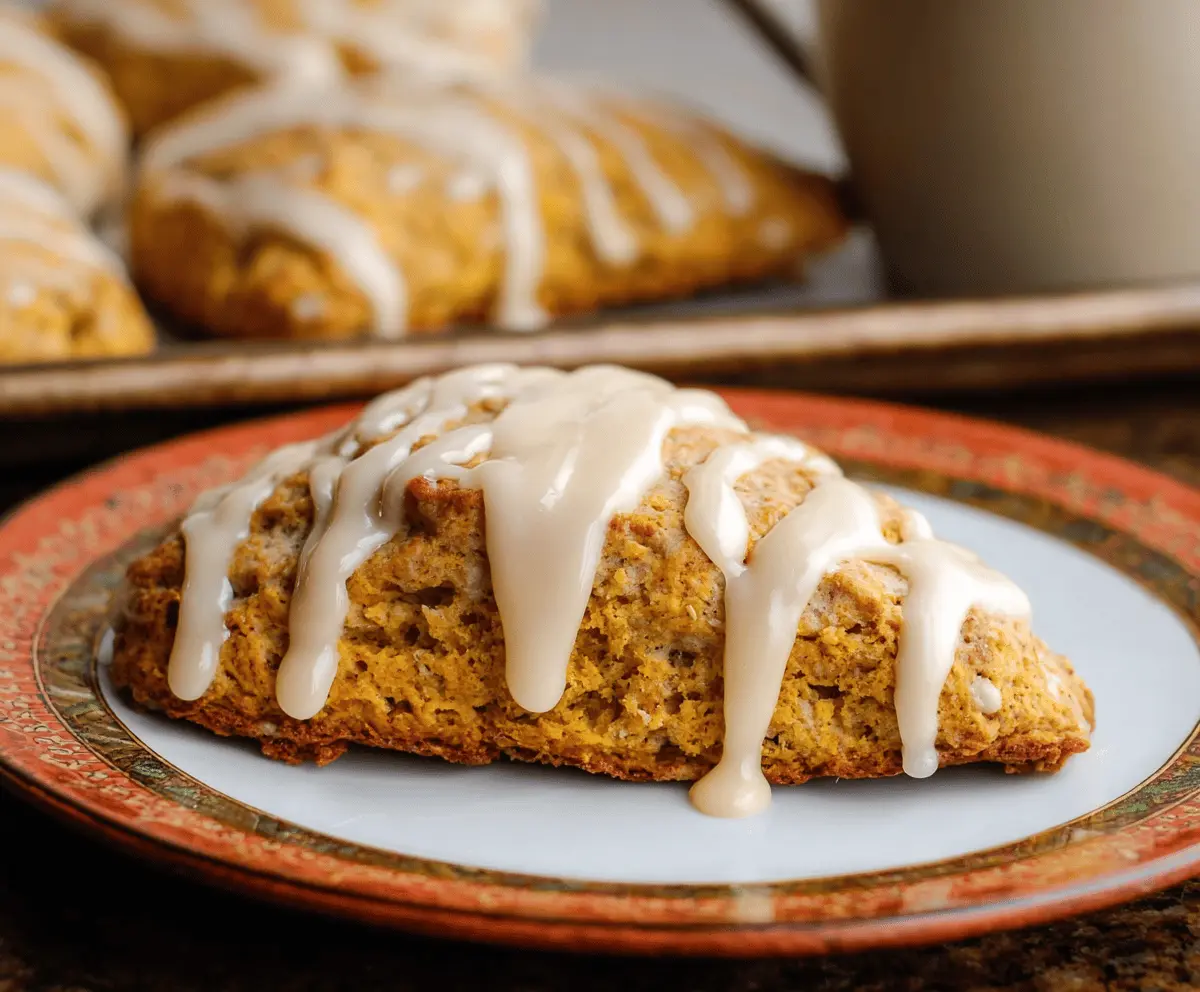
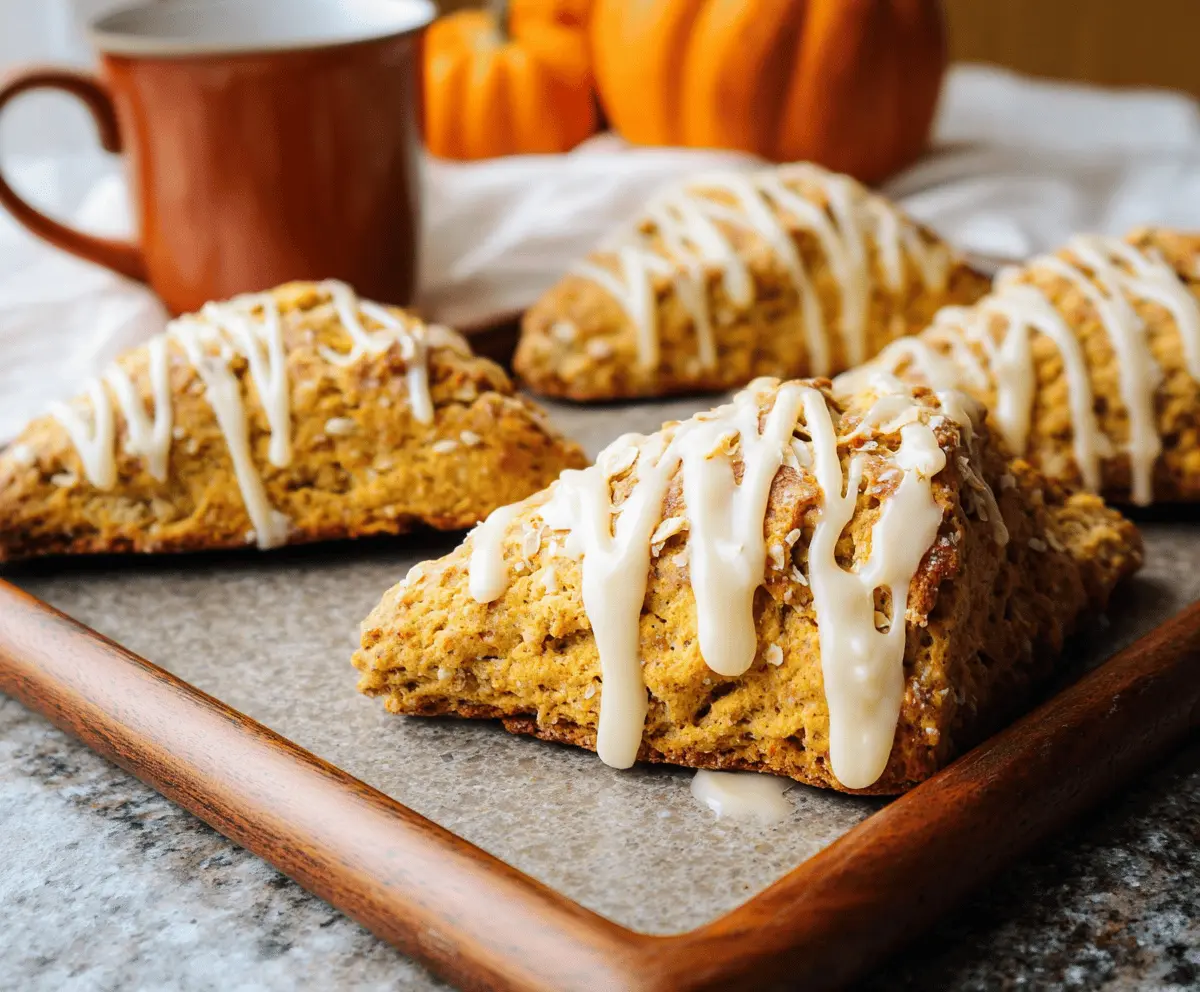
These pumpkin scones are soft, fluffy, and packed with cozy fall flavors. Topped with a sweet maple icing, they are a delicious treat for breakfast or snack time!
Honestly, these scones make my kitchen smell amazing. I can’t help but enjoy them warm and fresh out of the oven, usually with a cup of tea beside me. Perfect combo, right?
Key Ingredients & Substitutions
All-Purpose Flour: This is essential for structure. If you want a gluten-free version, you can substitute it with a 1:1 gluten-free flour blend. I sometimes mix in a bit of almond flour for an extra nutty flavor.
Pumpkin Puree: Always use canned pumpkin puree, not pie filling, for the best result. If you have fresh pumpkin, you can roast and puree it, but I love the convenience of canned! It saves time and tastes great.
Spices: The blend of spices elevates the scones. If you’re missing any of these, a pumpkin spice mix can work well. I love adjusting the cinnamon according to taste – a little more is always nice!
Butter: Cold butter makes for flaky scones. If you prefer a healthier option, you can use coconut oil or unsalted margarine, but I find butter gives the best flavor.
Maple Syrup: This icing is all about real maple syrup for that true flavor. If you’re in a pinch, honey or agave syrup could be alternatives, but I would stick with maple when you can!
How Do You Achieve Perfectly Flaky Scones?
Getting scones to be perfectly flaky is all about technique! Here’s how to do it:
- Keep Ingredients Cold: Make sure your butter is very cold. This helps create those lovely flaky layers.
- Don’t Overmix: After combining wet and dry ingredients, mix just until they come together. Overmixing can lead to tough scones!
- Shape Gently: When shaping the dough, use your hands to pat it into shape rather than rolling it out. This keeps the air in the dough.
- Space Them Out: Leave space between the scones on the baking sheet. This allows heat to circulate, helping them rise evenly.
Enjoy experimenting with this recipe, and soon you’ll be the scone master in your kitchen!
Delicious Pumpkin Scones with Maple Icing
Ingredients You’ll Need:
For the Pumpkin Scones:
- 2 cups all-purpose flour
- 1/2 cup rolled oats (plus more for topping)
- 1/2 cup granulated sugar
- 1 tablespoon baking powder
- 1/2 teaspoon baking soda
- 1/2 teaspoon salt
- 1 1/2 teaspoons ground cinnamon
- 1/2 teaspoon ground nutmeg
- 1/4 teaspoon ground ginger
- 1/8 teaspoon ground cloves
- 1/2 cup (1 stick) cold unsalted butter, cut into small cubes
- 1 cup canned pumpkin puree (not pumpkin pie filling)
- 1/4 cup heavy cream (plus more for brushing)
- 1 teaspoon vanilla extract
- 1 large egg
For the Maple Icing:
- 1 cup powdered sugar
- 2 tablespoons pure maple syrup
- 1-2 tablespoons milk or heavy cream
- 1/4 teaspoon vanilla extract
How Much Time Will You Need?
This recipe will take about 15 minutes to prepare and around 20 minutes to bake. Allow an additional 10 minutes for cooling before serving, making the total time around 45 minutes. Perfect for a cozy morning treat!
Step-by-Step Instructions:
1. Preheat the Oven:
First things first, preheat your oven to 400°F (200°C). Line a baking sheet with parchment paper or a silicone baking mat to help the scones bake evenly.
2. Mix Dry Ingredients:
In a large mixing bowl, whisk together the flour, oats, sugar, baking powder, baking soda, salt, cinnamon, nutmeg, ginger, and cloves until everything is well combined. The spices will make your kitchen smell wonderful!
3. Cut in the Butter:
Add the cold cubed butter to your flour mixture. Using a pastry cutter, two forks, or your fingers, cut the butter into the mixture until it resembles coarse crumbs. You want small bits of butter to remain for that flaky texture.
4. Combine Wet Ingredients:
In a separate bowl, whisk together the pumpkin puree, heavy cream, vanilla extract, and egg until smooth. This keeps your scones moist and flavorful.
5. Mix Wet and Dry Ingredients:
Now, gently add the wet mixture to the dry ingredients. Stir with a spatula or wooden spoon until just combined—don’t overmix! The dough should be a bit sticky but hold together nicely.
6. Shape the Dough:
Turn the dough onto a lightly floured surface and gently pat it into a 9-inch circle about 1 inch thick. Sprinkle some oats on top and gently press them into the dough for an extra crunch!
7. Cut and Transfer Scones:
Using a sharp knife or a bench scraper, cut the circle into 8 wedges, like a pizza. Place the wedges on your prepared baking sheet, making sure to leave about 2 inches of space between them.
8. Brush with Cream:
Lightly brush the tops of the scones with a bit of heavy cream to help them brown beautifully in the oven.
9. Bake:
Bake your scones for 18-22 minutes, or until they are golden brown and a toothpick inserted into the center comes out clean. Keep an eye on them—they should smell amazing!
10. Prepare the Maple Icing:
While the scones are baking, make the icing. In a small bowl, whisk together the powdered sugar, maple syrup, milk (start with 1 tablespoon), and vanilla extract until smooth. Adjust the consistency with more milk if needed—it should drizzle nicely!
11. Cool and Drizzle:
Once baked, let the scones cool on the baking sheet for about 10 minutes. Transfer them to a wire rack, and then drizzle the warm scones with maple icing using a spoon or a piping bag.
12. Serve:
Enjoy your delicious pumpkin scones warm or at room temperature with a cup of your favorite tea or coffee. They’re perfect for sharing or savoring all by yourself!
These pumpkin scones are not only easy to make but are also bursting with flavor, thanks to the wonderful spices and the maple icing. Enjoy your baking adventure!
Can I Use Fresh Pumpkin Instead of Canned?
Yes, you can use fresh pumpkin! Just roast and puree it until smooth. Aim for about 1 cup of fresh pumpkin to replace the canned puree. Make sure to remove excess moisture so your scones don’t turn out soggy!
How Should I Store Leftover Scones?
Store any leftover scones in an airtight container at room temperature for 1-2 days. If you want to keep them longer, they can be refrigerated for up to a week or frozen for up to 3 months. Just warm them in the oven for a few minutes before serving!
Can I Make These Scones Gluten-Free?
Absolutely! Use a 1:1 gluten-free flour blend in place of all-purpose flour. Just make sure your baking powder and other ingredients are gluten-free. They should turn out just as delicious!
How Can I Adjust the Sweetness of the Icing?
If you prefer a less sweet icing, you can reduce the amount of powdered sugar. Start with 3/4 cup and gradually add more if needed. You can also try adding a pinch of salt to balance the sweetness.