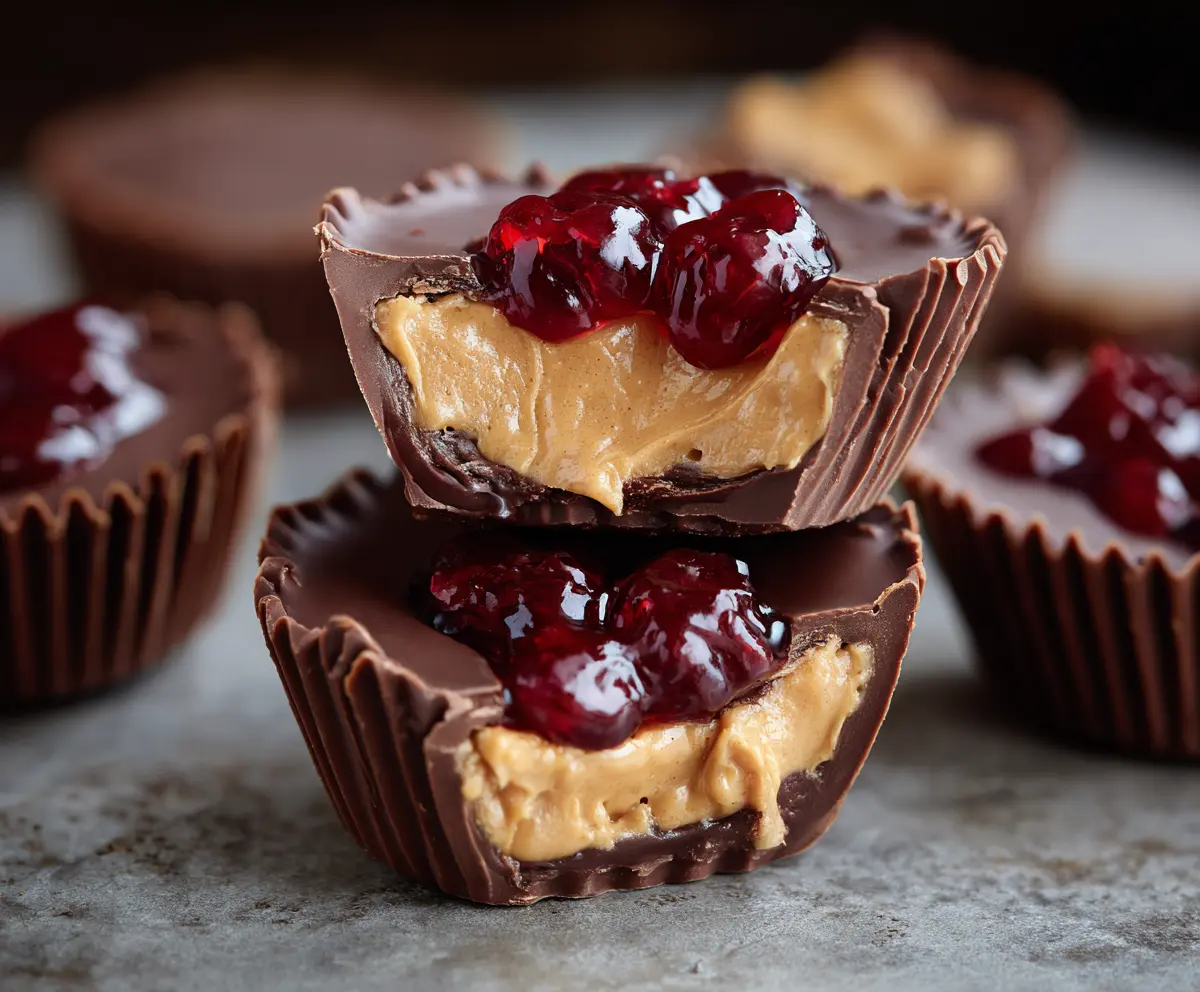
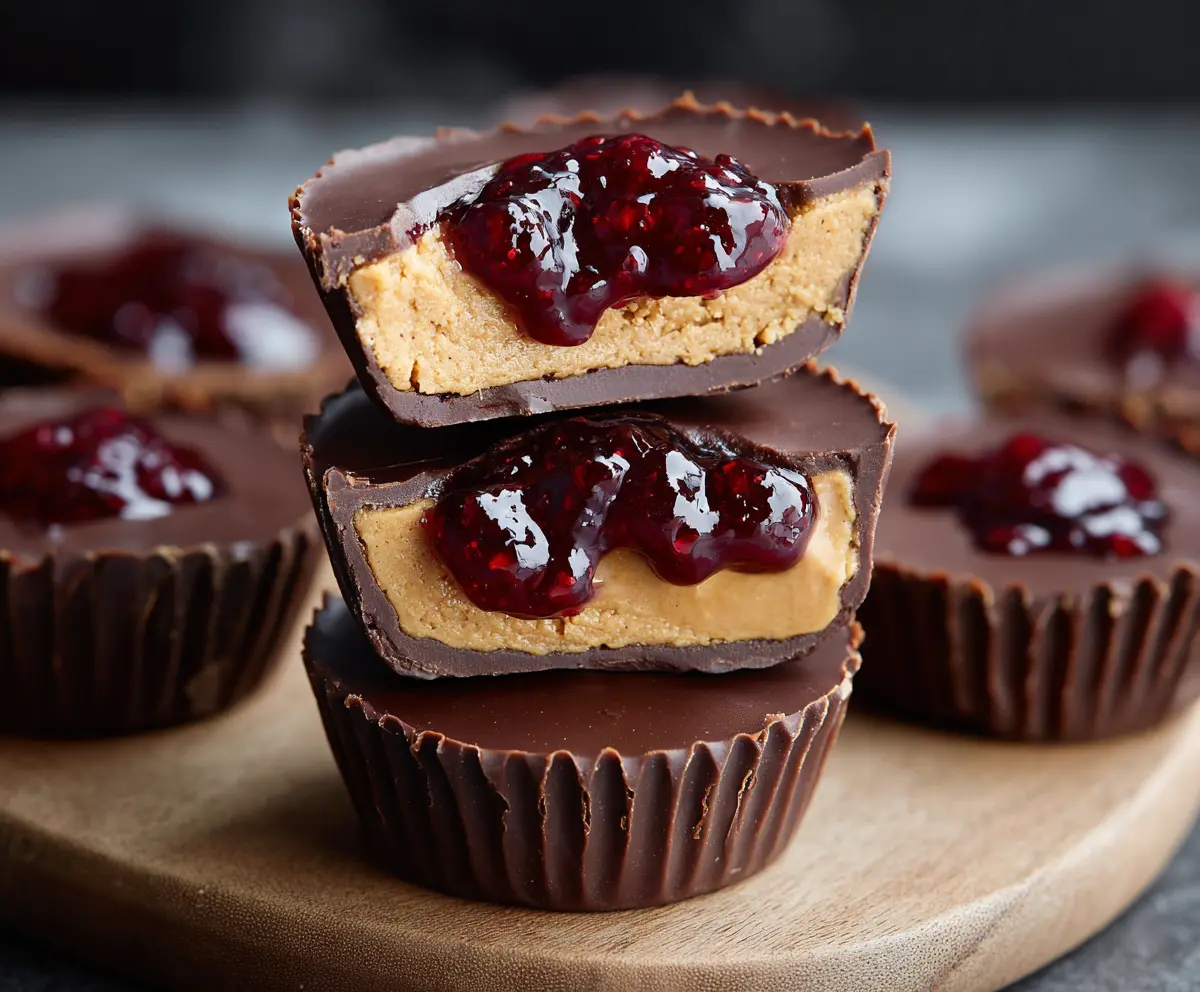
These Peanut Butter and Jelly Cups are a fun snack that kids and grown-ups both love! With a creamy peanut butter filling and a sweet jelly center, they’re like tiny desserts in a cup.
Making them is a breeze! You just mix, layer, and chill. I like to enjoy mine with a glass of milk—perfect for a quick treat anytime! Who can resist that classic combo? 😄
Key Ingredients & Substitutions
Chocolate Chips: Semi-sweet chocolate chips are great for this recipe, but feel free to swap in milk chocolate for a sweeter treat. Dark chocolate can also work if you like a richer flavor.
Peanut Butter: Creamy peanut butter gives the best texture. If you’re looking for a healthier option, natural peanut butter is a good choice, but it may be a bit thinner. For nut allergies, sunflower butter can be a good substitute.
Fruit Jelly or Jam: Classic grape or strawberry jelly is traditional, but you can use any flavor you like. Raspberry or blueberry can add a fun twist and pair well with the peanut butter.
Powdered Sugar: This helps sweeten the peanut butter filling and gives it a creamy texture. If you’re avoiding sugar, try a sugar substitute designed for baking.
How Do You Ensure the Chocolate Cups Are Perfectly Formed?
Making sure your chocolate cups are properly formed is key to enjoying every bite! Here’s how to get it right:
- Melt chocolate chips carefully to avoid scorching them—30 seconds in the microwave works well.
- Use a spoon to coat not just the bottom but also up the sides of each cup—this ensures a sturdy base.
- Let the chocolate set in the freezer for a bit; this helps them hold their shape when you add the filling.
- Be gentle when adding the peanut butter and jelly to keep the chocolate from breaking.
Following these tips will help you create delightful cups that hold their shape and flavors well! Enjoy making these sweet treats!
Peanut Butter And Jelly Cups
Ingredients You’ll Need:
- 1 1/2 cups semi-sweet chocolate chips (or milk chocolate chips)
- 1/2 cup creamy peanut butter (natural or regular)
- 1/4 cup powdered sugar
- 1/4 teaspoon vanilla extract
- 4 tablespoons unsalted butter, softened
- 1/3 cup fruit jelly or jam (classic grape or strawberry recommended)
How Much Time Will You Need?
This recipe takes about 30 minutes of active preparation time, plus an additional 20-25 minutes in the freezer to set. You’ll be able to enjoy these tasty treats in about 50 to 55 minutes!
Step-by-Step Instructions:
1. Prepare Your Mold:
Start by preparing a mini muffin tin or a silicone cupcake mold. If you’re using a metal muffin tin, line it with paper liners. If you’re using silicone, just give it a light grease to make removing the cups easier later.
2. Melt the Chocolate:
In a microwave-safe bowl, melt the chocolate chips. Heat in increments of 30 seconds, stirring after each interval until the chocolate is smooth and fully melted. Be careful to watch it so it doesn’t burn!
3. Create the Chocolate Cups:
Spoon about 1 teaspoon of the melted chocolate into the bottom of each mini muffin cup. Use the back of the spoon to gently coat the bottom and sides to create a chocolate cup. Once done, place the muffin tin in the freezer for about 5-10 minutes to let it harden.
4. Make the Peanut Butter Filling:
While the chocolate is setting, prepare the peanut butter filling. In a mixing bowl, combine the peanut butter, powdered sugar, softened butter, and vanilla extract. Mix everything together until it becomes smooth and fluffy.
5. Fill the Chocolate Cups:
After the chocolate has set in the freezer, remove the tin. Scoop about 1 tablespoon of the peanut butter mixture into each chocolate cup. Press it down gently but make sure to keep the top even.
6. Add the Jelly:
Top each filled peanut butter cup with about 1 teaspoon of your favorite jelly or jam. This adds a delicious fruity layer!
7. Seal with More Chocolate:
Carefully drizzle or spoon more melted chocolate over the jelly to seal in the filling completely. Make sure it’s well covered!
8. Final Freezing:
Return the cups to the freezer for another 10-15 minutes, allowing the chocolate to firm up nicely.
9. Enjoy Your Treats:
Once the chocolate is set, gently peel away the liners if you used them. Store your peanut butter and jelly cups in an airtight container in the refrigerator until you’re ready to enjoy. These treats are perfect for a quick snack or a sweet dessert!
Enjoy your delicious homemade peanut butter and jelly cups—a perfect blend of creamy, sweet, and chocolatey goodness!
Can I Use Different Nut Butters?
Absolutely! If you have a nut allergy or simply prefer something else, you can substitute creamy peanut butter with almond butter, cashew butter, or sunflower seed butter. Just keep in mind that the flavor will change slightly based on the nut butter used!
How Do I Store Leftover Peanut Butter and Jelly Cups?
To keep your peanut butter and jelly cups fresh, store them in an airtight container in the refrigerator. They’ll last for up to a week, but trust me—you might eat them faster than that!
Can I Make These Cups Ahead of Time?
Yes! These cups can be made a few days in advance. Just ensure they are properly stored in the fridge to maintain their freshness and texture. You can take them out as needed for quick snacks or treats!
What Happens If My Chocolate Doesn’t Melt Smoothly?
If your chocolate seizes or doesn’t melt smoothly, try adding a tiny bit of vegetable oil or coconut oil to the bowl while melting to help smooth it out. Make sure to stir thoroughly and heat it in short intervals to avoid burning!