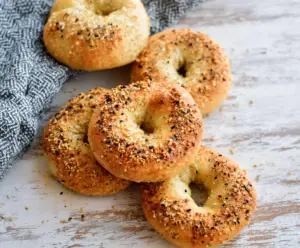
These overnight sourdough bagels are chewy and delicious, perfect for breakfast! You mix up the dough the night before, and let it rise in the fridge while you sleep.
Picture this: you wake up to freshly baked bagels with a crispy crust. It’s like a dream come true! I love adding my favorite toppings like sesame seeds or everything spice.
Key Ingredients & Substitutions
Sourdough Starter: A healthy, bubbly starter adds flavor and rise to the bagels. If you don’t have one, try using instant yeast instead (about 1.5 teaspoons) to jumpstart the fermentation process.
Bread Flour: This flour gives bagels their chewy texture. If you can’t find bread flour, all-purpose flour will work, but the bagels may be slightly softer. Adding a bit of vital wheat gluten can help mimic bread flour’s properties.
Malt Syrup: It enhances flavor and gives a bit of sweetness. You can substitute with honey or brown sugar if necessary, but malt syrup really does make a difference for traditional bagel taste.
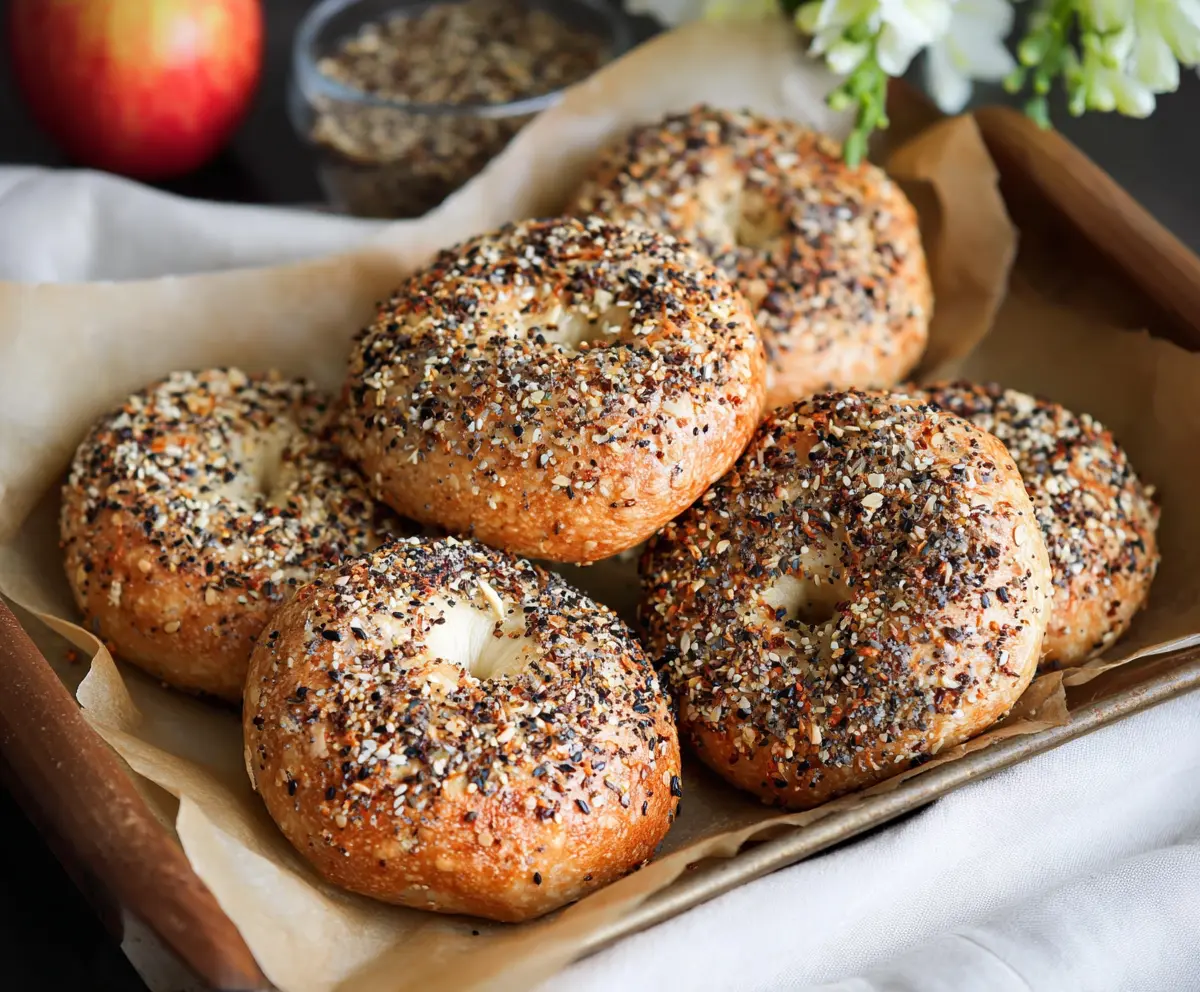
Toppings: Get creative here! Feel free to replace sesame or poppy seeds with your favorite seasonings or even a mix of dried herbs. Everything seasoning offers a great blend if you’re unsure what to choose.
How Do I Achieve the Perfect Bagel Shape?
Shaping your bagels well ensures they maintain their form during boiling and baking. Here’s a simple step-by-step:
- After letting the dough rest, divide it into 8 equal pieces.
- Roll each piece into a tight ball. If the dough is too sticky, dust with a little flour.
- Use your thumb to poke a hole in the center, gradually stretching it. Aim for the hole to be about 1-2 inches wide as it will shrink back during cooking.
- Be gentle with the dough to keep it airy; a tight bagel can become tough!
Take your time with shaping. It can be a fun way to enjoy the process, and your bagels will turn out amazing!
How to Make Overnight Sourdough Bagels
Ingredients You’ll Need:
For the Dough:
- 1 cup (240g) mature sourdough starter (fed and bubbly)
- 1 1/2 cups (360ml) warm water (around 75°F/24°C)
- 4 cups (480g) bread flour, plus more for dusting
- 2 teaspoons salt
- 1 tablespoon malt syrup (or honey or brown sugar)
For Boiling & Topping:
- Water for boiling
- 1 tablespoon baking soda (for boiling water)
- Optional: seeds and seasoning for topping (e.g., sesame seeds, poppy seeds, everything bagel seasoning)
How Much Time Will You Need?
This recipe takes about 20 minutes of active prep time, followed by 8-12 hours of overnight fermentation. After shaping, you’ll need another 1-2 hours for proofing and then about 25 minutes for boiling and baking. All in all, it’s a simple process that rewards you with delicious bagels!
Step-by-Step Instructions:
1. Mix the Dough:
In a large bowl, combine your bubbly sourdough starter with warm water. Stir these together well. Next, add in the bread flour and salt. Mix everything together until you see a rough dough start to form.
2. Knead the Dough:
Turn the dough onto a floured surface. Knead it for about 8-10 minutes until it’s smooth and elastic. If you’re using a stand mixer, knead it with a dough hook for about 6-7 minutes instead.
3. Bulk Fermentation (Overnight):
Now, transfer your kneaded dough to a lightly oiled bowl. Cover it tightly with plastic wrap or a damp towel, then place it in the fridge. Let it chill overnight for 8-12 hours. This slow fermentation helps develop a lot of flavors.
4. Shape the Bagels:
The next day, take the dough out of the fridge and allow it to come to room temperature, which should take about 30 minutes. Divide it into 8 equal pieces. Shape each piece into a tight ball. Then, poke a hole through the center with your thumb and gently stretch it to form the classic bagel shape.
5. Proof the Bagels:
Line a baking tray with parchment paper and carefully place the shaped bagels on it. Cover them loosely with a clean cloth and let them rest at room temperature for 1-2 hours, until they are slightly puffed up.
6. Prepare the Boiling Water:
While the bagels are proofing, preheat your oven to 450°F (230°C). Fill a large pot with water, and add malt syrup and baking soda before bringing it to a rolling boil.
7. Boil the Bagels:
Once the water is boiling, gently place the bagels in batches into the pot. Boil each one for about 1 minute on each side. Use a slotted spoon to remove them, then place them back onto the parchment-lined trays.
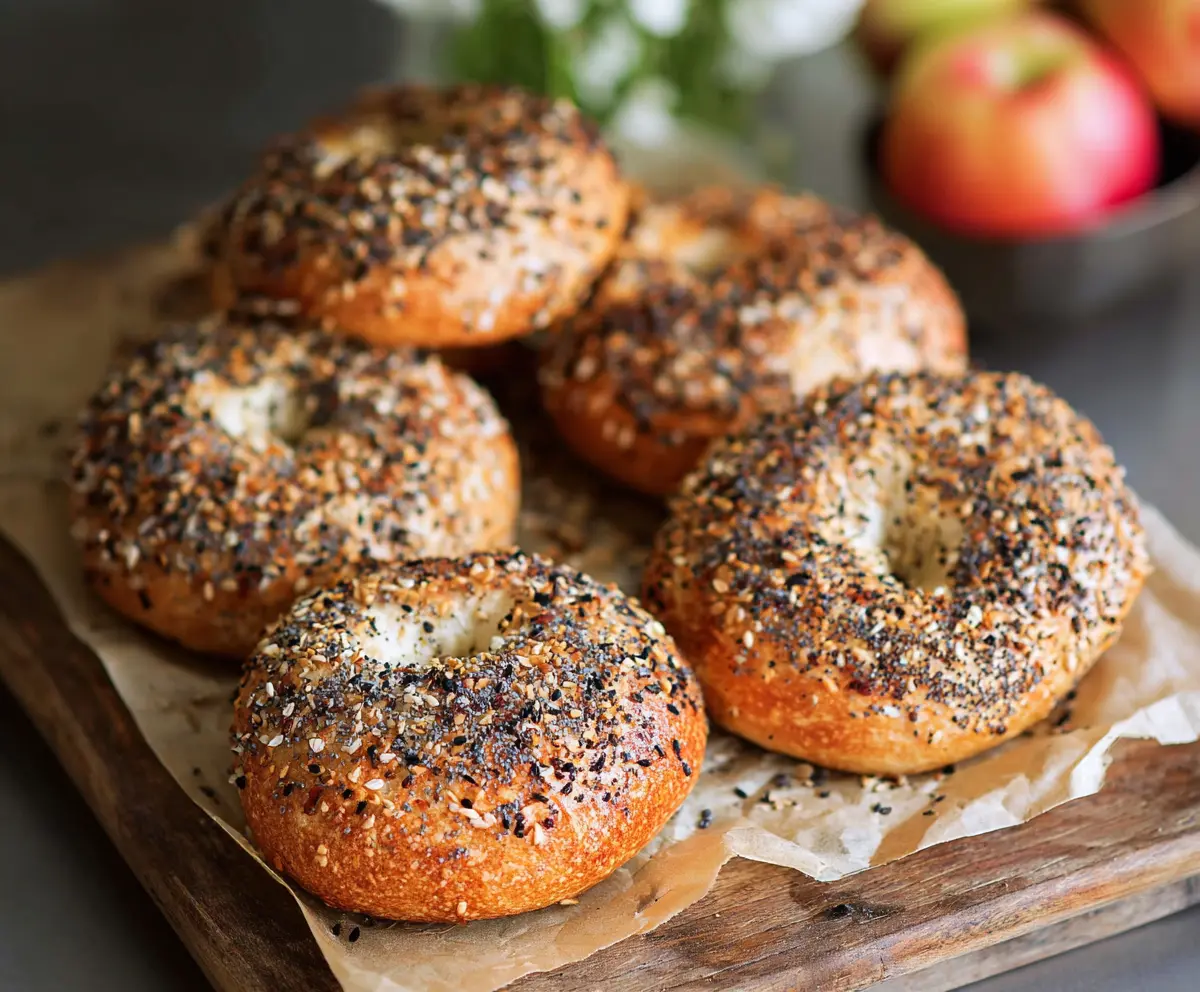
8. Add Toppings:
While the bagels are still wet from boiling, sprinkle your choice of seeds or seasoning on top, pressing gently to help them stick.
9. Bake the Bagels:
Now it’s time for the oven! Bake your bagels for 20-25 minutes, or until they turn a lovely golden brown and are baked through.
10. Cool and Enjoy:
Once baked, transfer the bagels to a wire rack to cool completely before slicing and serving. Enjoy your chewy, tasty overnight sourdough bagels fresh or toasted!
Can I Use Gluten-Free Flour for This Recipe?
Unfortunately, gluten-free flour won’t provide the same texture and chewiness as bread flour in bagels. If you’re looking for a gluten-free option, consider using a gluten-free bagel recipe specifically designed for that purpose.
How Do I Know When the Bagels Are Finished Proofing?
Your bagels should be slightly puffy and have increased in size, but not doubled. A good test is to gently poke a bagel; if the indentation springs back slowly, they’re ready for boiling!
Can I Freeze the Bagels After Baking?
Absolutely! Once the bagels have cooled completely, store them in a freezer-safe bag or airtight container. They can be frozen for up to 3 months. To reheat, simply toast them directly from frozen or let them thaw at room temperature then warm them in the oven.
What’s the Best Way to Store Bagels?
Store your bagels in a paper bag at room temperature to keep them fresh for 1-2 days. For longer storage, refrigerate them in a sealed container, but be aware they may become slightly denser. Toasting is a great way to revive their texture!