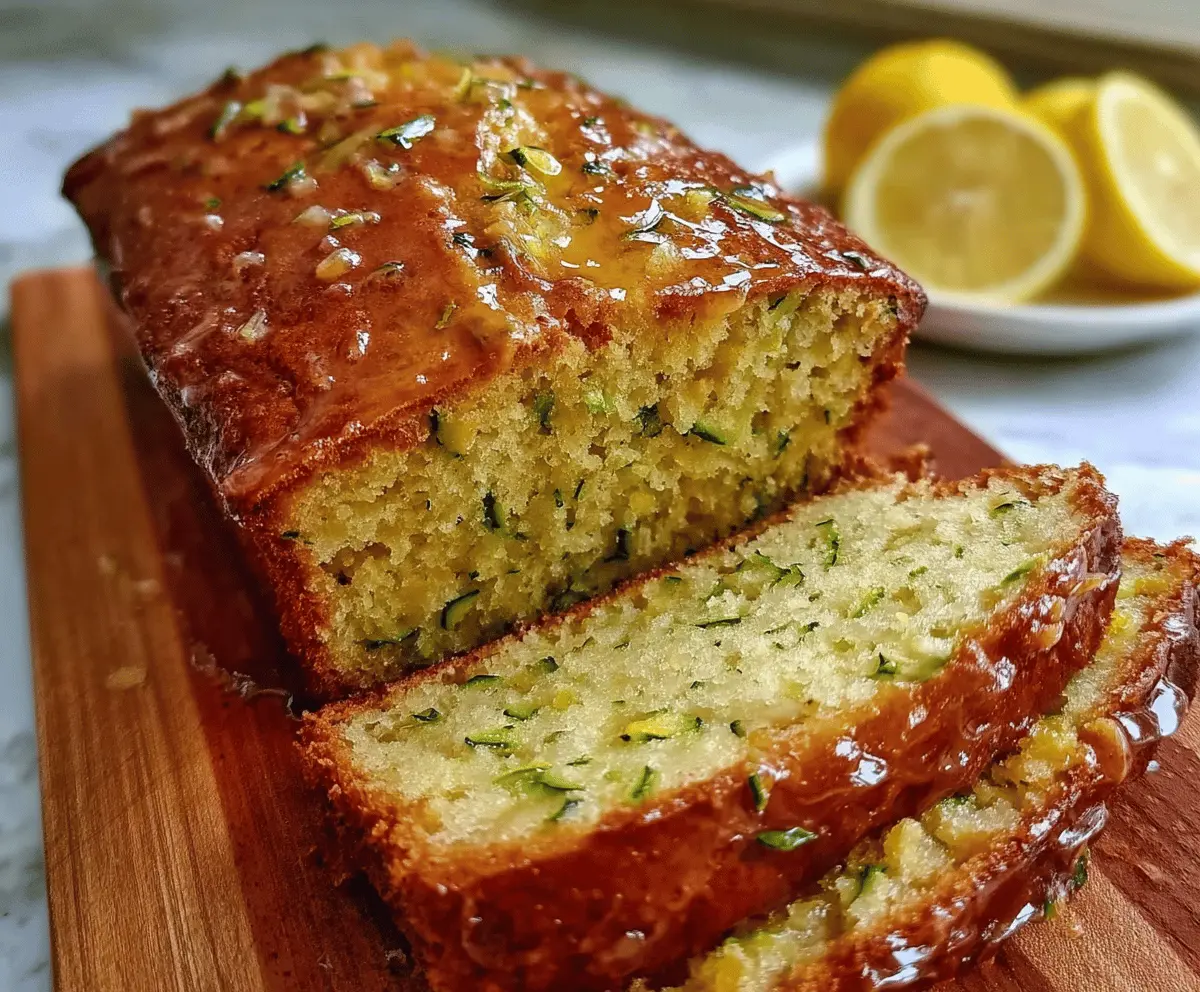
This Lemon Zucchini Bread is a sunny treat, bursting with fresh citrus flavor! The soft, moist bread combines golden zucchini and zesty lemon juice for a delightful snack or breakfast.
Honestly, it’s hard to stop at just one slice! I love having it with a cup of tea; it’s like a little slice of sunshine on a cloudy day. 🍋
Key Ingredients & Substitutions
All-Purpose Flour: This is the base of your bread. If you want a healthier alternative, you can use whole wheat flour. Just remember it might change the texture slightly, making it denser.
Zucchini: Grated zucchini adds moisture. Don’t peel it; the skin adds color and nutrients! If you don’t have zucchini, shredded carrots work as a fun substitute.
Fresh Lemon Juice & Zest: Fresh citrus brings unbeatable flavor. If fresh lemons aren’t on hand, bottled juice can work, but fresh is better for that bright taste. For zest, you could use lemon extract if you’re in a pinch.
Vegetable Oil vs. Butter: I prefer vegetable oil for its lightness. However, melted butter adds richness. Use what you enjoy more; just keep the quantity the same!
Buttermilk/Yogurt: Buttermilk adds tanginess and moisture. If you don’t have buttermilk, mixing 1/2 cup of milk with 1/2 tablespoon of vinegar or lemon juice can make a great substitute.
How Can I Ensure My Zucchini Bread Stays Moist?
Moisture is key for a fluffy zucchini bread. Here’s how to keep it just right:
- Don’t skip the zucchini! It adds natural moisture. Grate it finely and lightly squeeze out excess water if it’s too watery.
- Mix the ingredients just until combined. Overmixing can make the bread tough. Use a gentle folding method.
- Check for doneness by inserting a toothpick. It should come out with just a few moist crumbs, not totally clean.
Letting it cool in the pan for a few minutes before transferring it to a wire rack also helps retain moisture, so don’t skip that step!
Lemon Zucchini Bread with Fresh Citrus Flavor
Ingredients You’ll Need:
For The Bread:
- 1 1/2 cups all-purpose flour
- 1 teaspoon baking powder
- 1/2 teaspoon baking soda
- 1/2 teaspoon salt
- 1 teaspoon ground cinnamon (optional)
- 2 large eggs
- 3/4 cup granulated sugar
- 1/2 cup vegetable oil or melted butter
- 1 teaspoon vanilla extract
- 1 cup grated zucchini (about 1 medium zucchini, unpeeled)
- Zest of 1 lemon
- 1/4 cup fresh lemon juice
- 1/2 cup buttermilk or plain yogurt
For The Lemon Glaze:
- 1/2 cup powdered sugar
- 1-2 tablespoons fresh lemon juice
- Lemon zest for garnish
How Much Time Will You Need?
This delightful Lemon Zucchini Bread takes about 15 minutes to prepare and then 50-60 minutes to bake. After baking, let it cool for about 15 minutes in the pan, followed by cooling completely on a wire rack. In total, you’re looking at roughly 1 hour and 30 minutes from start to finish. Totally worth the wait!
Step-by-Step Instructions:
1. Preheat the Oven:
Start by preheating your oven to 350°F (175°C). This way, you’re all set for baking as soon as your batter is ready. Grease and flour a 9×5-inch loaf pan or line it with parchment paper to help the bread pop out smoothly when it’s done.
2. Mix the Dry Ingredients:
In a medium bowl, whisk together the all-purpose flour, baking powder, baking soda, salt, and cinnamon (if using). Mixing these dry ingredients first ensures everything is evenly distributed, making for a consistent rise during baking!
3. Prepare the Wet Ingredients:
In a larger bowl, beat the eggs and granulated sugar together with a whisk or mixer until they are light and fluffy. Add the vegetable oil (or melted butter), vanilla extract, lemon zest, and fresh lemon juice, making sure everything is mixed well.
4. Add the Zucchini:
Stir in the grated zucchini, folding it gently into the mixture until evenly incorporated. This will add moisture and a subtle flavor to the bread.
5. Combine Everything Together:
Now it’s time to add the dry ingredients to the wet mixture. Alternate adding the dry mix and the buttermilk (or yogurt), starting and ending with the dry ingredients. Mix just until combined to avoid overmixing—this helps keep the bread nice and fluffy!
6. Pour Into the Pan:
Pour the batter into your prepared loaf pan, smoothing the top with a spatula. This ensures an even bake and pretty presentation.
7. Bake:
Place the loaf pan in the preheated oven and bake for 50-60 minutes. Check for doneness by inserting a toothpick into the center; it should come out clean or with just a few moist crumbs attached.
8. Cool the Bread:
Once baked, remove the bread from the oven and let it cool in the pan for about 15 minutes. Then, carefully transfer it to a wire rack to cool completely. This transition helps prevent sogginess from steam.
9. Make the Lemon Glaze:
While the bread is cooling, whip up your lemon glaze! In a small bowl, whisk together the powdered sugar and 1-2 tablespoons of fresh lemon juice until you achieve a smooth, pourable consistency.
10. Glaze and Garnish:
Once the bread has completely cooled, drizzle the lemon glaze over the top. Sprinkle some extra lemon zest on for a beautiful finish!
11. Slice and Enjoy:
Finally, slice up your luscious Lemon Zucchini Bread and enjoy the burst of citrus flavor! It’s perfect for breakfast, a snack, or dessert!

FAQ for Lemon Zucchini Bread
Can I Substitute Yellow Squash for Zucchini?
Absolutely! Yellow squash can be used in place of zucchini in this recipe. Just make sure to grate it finely and keep the skin on for added texture and nutrients!
How Should I Store Leftovers?
Store any leftover Lemon Zucchini Bread in an airtight container at room temperature for up to 3 days. For longer storage, you can wrap individual slices in plastic wrap and freeze them for up to 3 months. Just thaw overnight in the fridge before enjoying!
Can I Use Coconut Oil Instead of Vegetable Oil?
Yes, coconut oil is a great substitute! It will add a subtle coconut flavor to the bread. Just melt it before mixing to ensure even incorporation.
What If I Don’t Have Buttermilk?
No problem! You can easily make your own buttermilk by mixing 1/2 cup of milk with 1/2 tablespoon of vinegar or lemon juice. Let it sit for 5-10 minutes before using, and it’ll work perfectly in the recipe!