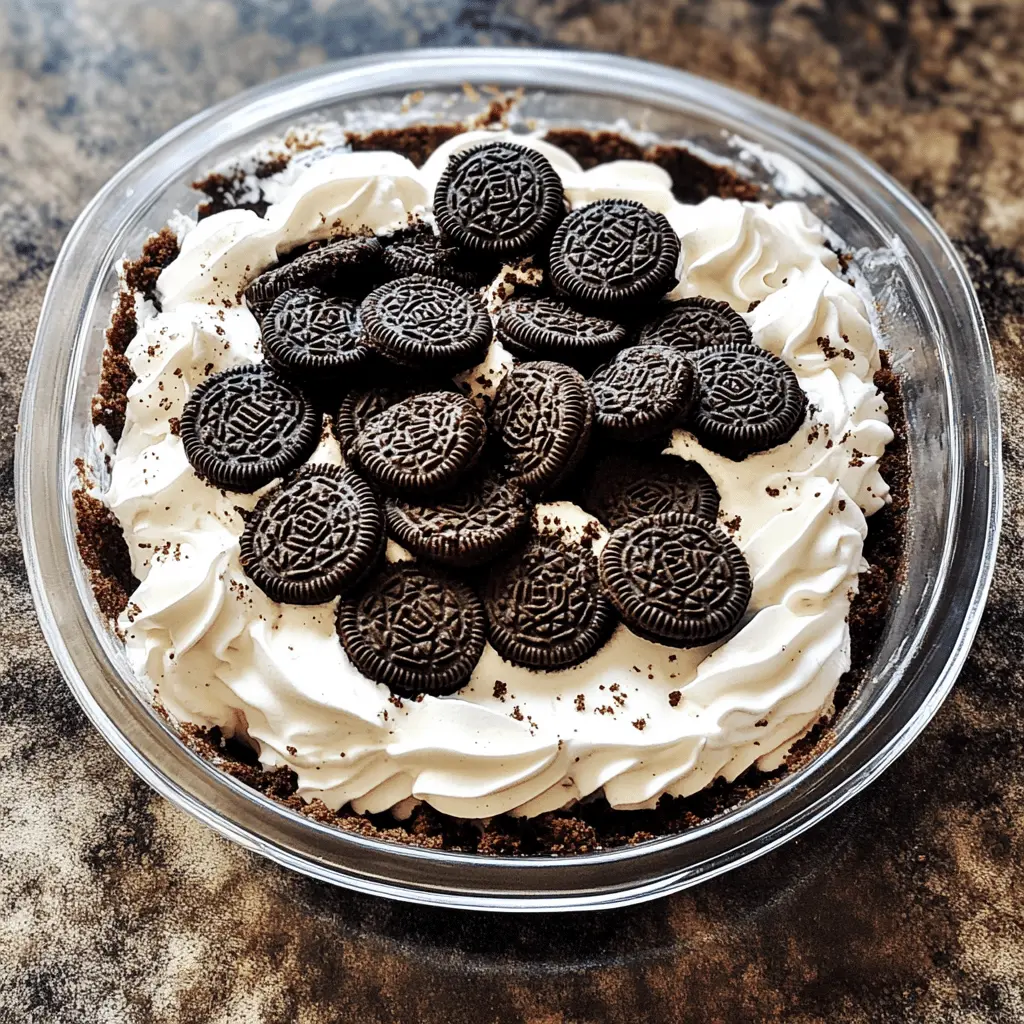
This Heavenly Oreo Dessert is a sweet treat that combines layers of creamy goodness with crunchy Oreo cookies. It’s super easy to make and perfect for sharing at parties!
Key Ingredients & Substitutions
Oreo Cookies: The star of this dessert! If you’re looking for a gluten-free option, try gluten-free chocolate sandwich cookies instead. They give a similar crunchy texture and flavor.
Butter: Unsalted butter is preferred here, but if you’re out, you can use margarine or coconut oil as a substitute. Just keep in mind that coconut oil might add a subtle flavor.
Cream Cheese: A crucial ingredient for a creamy filling. If you’re avoiding dairy, consider using vegan cream cheese, which works surprisingly well in desserts!
Whipped Topping: You can use homemade whipped cream instead if you prefer. Just whip heavy cream with a bit of sugar until it forms soft peaks. It’s delicious and can be more natural than store-bought options.
Instant Chocolate Pudding Mix: You can substitute with vanilla pudding if you’re not a chocolate fan. It will change the flavor but still keep the dessert luscious. For a healthier twist, try using a chocolate protein powder mixed with a little sweetener.
How Can I Make a Smooth Cream Cheese Mixture?
Getting a smooth cream cheese mixture is key for that creamy layer in this dessert. Start with softened cream cheese; this means taking it out of the fridge ahead of time. If it’s still too stiff, you can microwave it for about 10-15 seconds.
- Combine cream cheese and powdered sugar in a bowl.
- Beat with a hand mixer or stand mixer until fluffy and smooth.
- Gently fold in whipped topping using a spatula for extra lightness.
Don’t rush this step. The smoother your cream cheese mixture is, the better your layers will be!

How to Make Heavenly Oreo Dessert
Ingredients You’ll Need:
For The Crust:
- 1 package (15.5 oz) Oreo cookies, crushed
- 1/2 cup unsalted butter, melted
For The Cream Cheese Layer:
- 1 package (8 oz) cream cheese, softened
- 1 cup powdered sugar
- 1 container (8 oz) whipped topping (like Cool Whip), thawed
For The Chocolate Layer:
- 1 package (3.9 oz) instant chocolate pudding mix
- 2 cups milk
- 1 additional cup whipped topping for frosting
- Crushed Oreos for garnish
How Much Time Will You Need?
This delightful dessert will take about 30 minutes to prepare and then needs at least 4 hours, or preferably overnight, to chill in the refrigerator. Perfect for making ahead of time!
Step-by-Step Instructions:
1. Prepare the Crust:
Start by preheating your oven to 350°F (175°C). In a mixing bowl, combine the crushed Oreo cookies with the melted butter. Mix them together until they are well combined. Now, press this mixture firmly into the bottom of a 9×13 inch baking dish to create a base crust. Once you have it all pressed down, pop it in the oven and bake for 10 minutes. After baking, let it cool completely.
2. Make the Cream Cheese Layer:
In another bowl, beat together the softened cream cheese and powdered sugar until the mixture is smooth and creamy. Next, gently fold in 1 cup of thawed whipped topping into this mixture. Once everything is combined, spread the cream cheese layer evenly over the cooled Oreo crust, making sure you cover it well.
3. Assemble the Chocolate Layer:
In a separate bowl, whisk together the instant chocolate pudding mix and 2 cups of milk. Keep whisking for about 2 minutes, or until it begins to thicken up. Once thickened, pour the chocolate pudding over the cream cheese layer and spread it out evenly. Now, carefully spread the additional cup of whipped topping over the chocolate pudding layer for a beautiful finish.
4. Garnish and Chill:
Sprinkle crushed Oreos on top of the whipped topping for decoration. Cover the dish with plastic wrap or a lid and place it in the refrigerator. Let it chill for at least 4 hours, or overnight—this helps everything set perfectly. When you’re ready to serve, simply slice into squares and enjoy the creamy, chocolatey layers of this delightful dessert!

Can I Use Gluten-Free Oreos for This Recipe?
Absolutely! Just substitute regular Oreos with gluten-free Oreos to make this dessert gluten-free. The texture and flavor will still remain deliciously similar!
How Do I Store Leftovers?
Store any leftovers in an airtight container in the refrigerator for up to 3 days. Make sure to cover the top well to prevent the whipped topping from drying out. This dessert can be enjoyed chilled!
What Can I Use Instead of Cream Cheese?
If you’re looking for a non-dairy option or just want to switch it up, you can use mascarpone cheese or a dairy-free cream cheese substitute. Just ensure it’s softened to make it easy to mix with the powdered sugar!
Can I Make This Dessert in Advance?
Yes, this dessert is great for making ahead! You can prepare it a day in advance and let it chill overnight, which enhances the flavors and ensures it sets perfectly.


