I absolutely love making homemade ice cream. There is something truly special about creating your own frozen treats right in your kitchen. It’s easier than you think to whip up a delicious batch of creamy ice cream without needing to buy it from a store.
Today, I’m sharing eight of my favorite easy homemade ice cream recipes. Whether you like fruity flavors, classic custard, or something unique, you will find a recipe here that you will want to make again and again. Get ready for some fantastic frozen desserts!
Jump to Recipe:
- 1. Easy Homemade Almond Milk Ice Cream Recipe
- 2. Easy Homemade Biscoff Ice Cream Recipe
- 3. Easy Homemade Blueberry Ice Cream Recipe
- 4. Easy Homemade Custard Ice Cream Recipe
- 5. Easy Homemade Honeycomb Ice Cream Recipe
- 6. Easy Homemade Key Lime Pie Ice Cream Recipe
- 7. Easy Homemade Pineapple Ice Cream Recipe
- 8. Easy No Churn Blueberry Pie Ice Cream Recipe
Easy Homemade Almond Milk Ice Cream Recipe
This creamy, dairy-free almond milk ice cream recipe is light and delicious. It’s a great choice if you are looking for a plant-based frozen dessert.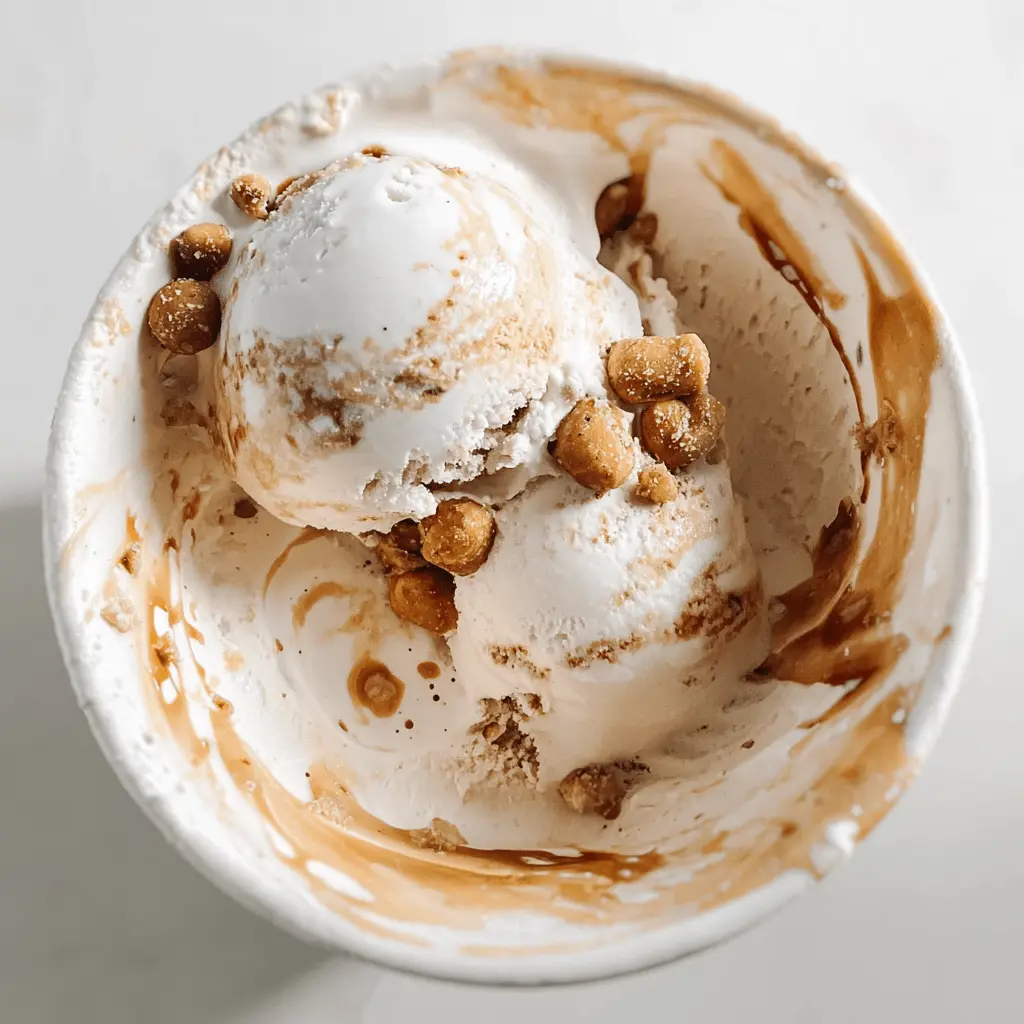
Key Ingredients & Tips for Almond Milk Ice Cream
- Good Quality Almond Milk: Using a rich, unsweetened almond milk makes a creamier base for your ice cream.
- Chill Thoroughly: Make sure your ice cream base is very cold before churning for the best texture.
What You Need for Almond Milk Ice Cream
- 2 cups unsweetened almond milk
- 1/2 cup granulated sugar
- 1/4 cup cornstarch
- 1 teaspoon vanilla extract
- Pinch of salt
⏱️ Time: 20 mins active + 4 hrs freeze🍽️ Yields: 1 quart
How to Make Almond Milk Ice Cream
Step 1: Make the Base
In a saucepan, whisk together almond milk, sugar, cornstarch, and salt until smooth. Heat over medium, stirring constantly, until the mixture thickens. This usually takes about 5-7 minutes.
Step 2: Chill and Churn
Remove from heat and stir in vanilla extract. Pour the mixture into a clean bowl, cover with plastic wrap touching the surface, and chill in the refrigerator for at least 4 hours, or until very cold. Once chilled, pour into your ice cream maker and churn according to the manufacturer’s instructions.
📝 Final Note
For a firmer ice cream, transfer to an airtight container and freeze for another 2-3 hours after churning.
Easy Homemade Biscoff Ice Cream Recipe
If you love the spiced cookie butter flavor, you will adore this easy homemade Biscoff ice cream. It’s rich, creamy, and has crunchy bits of cookies inside.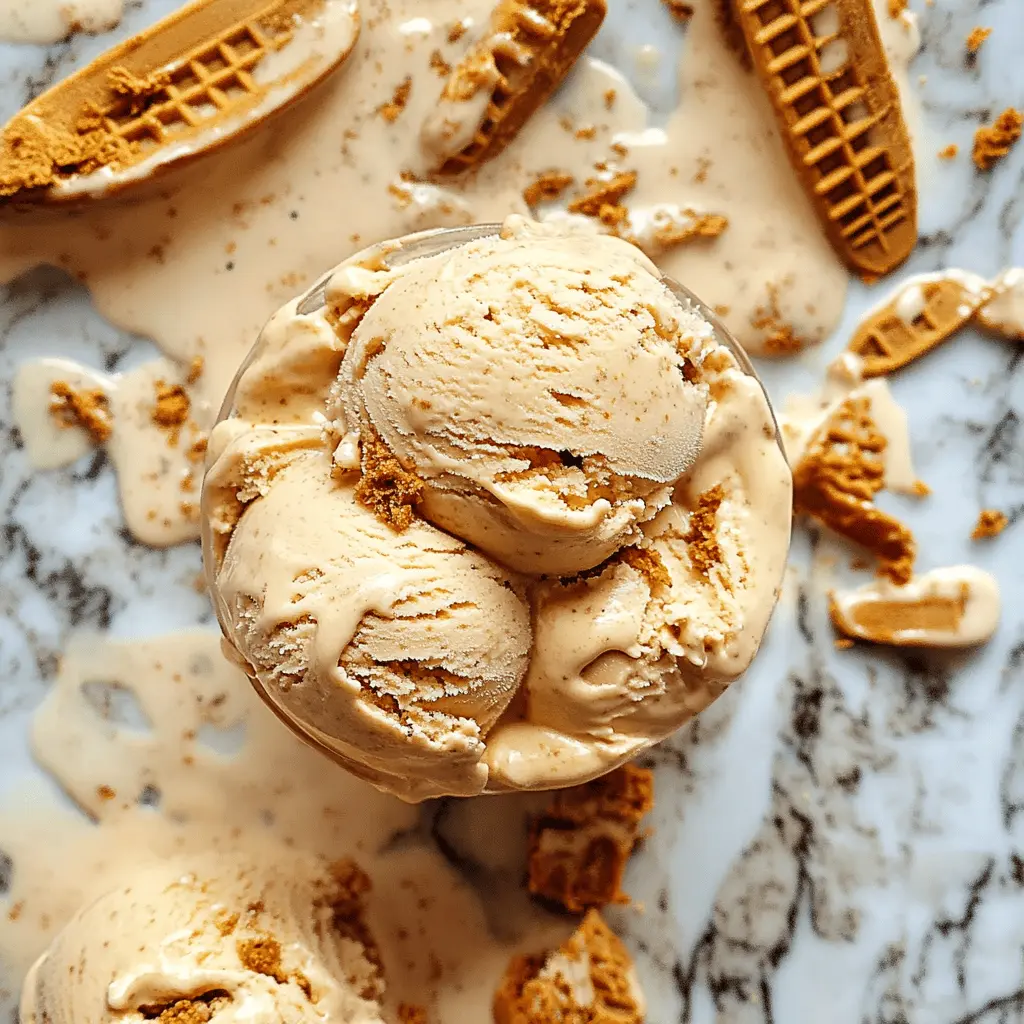
Key Ingredients & Tips for Biscoff Ice Cream
- Warm Biscoff Spread: Slightly warm the Biscoff spread to make it easier to mix into the ice cream base.
- Crushed Cookies: Add crushed Biscoff cookies towards the end of churning or layering for texture.
What You Need for Biscoff Ice Cream
- 2 cups heavy cream
- 1 (14 ounce) can sweetened condensed milk
- 1/2 cup Biscoff cookie butter spread
- 1 cup crushed Biscoff cookies
- 1 teaspoon vanilla extract
⏱️ Time: 15 mins active + 6 hrs freeze🍽️ Yields: 1.5 quarts
How to Make Biscoff Ice Cream
Step 1: Prepare the Base
In a large bowl, whip the heavy cream until stiff peaks form. In a separate bowl, mix the sweetened condensed milk, slightly warmed Biscoff spread, and vanilla extract until well combined.
Step 2: Combine and Freeze
Gently fold the condensed milk mixture into the whipped cream until no streaks remain. Then, fold in the crushed Biscoff cookies. Pour the mixture into a freezer-safe container, cover, and freeze for at least 6 hours, or overnight, until firm.
📝 Final Note
For easier scooping, let the ice cream sit at room temperature for 5-10 minutes before serving.
Easy Homemade Blueberry Ice Cream Recipe
Brighten your day with this easy homemade blueberry ice cream. It’s full of fresh fruit flavor and has a beautiful purple color.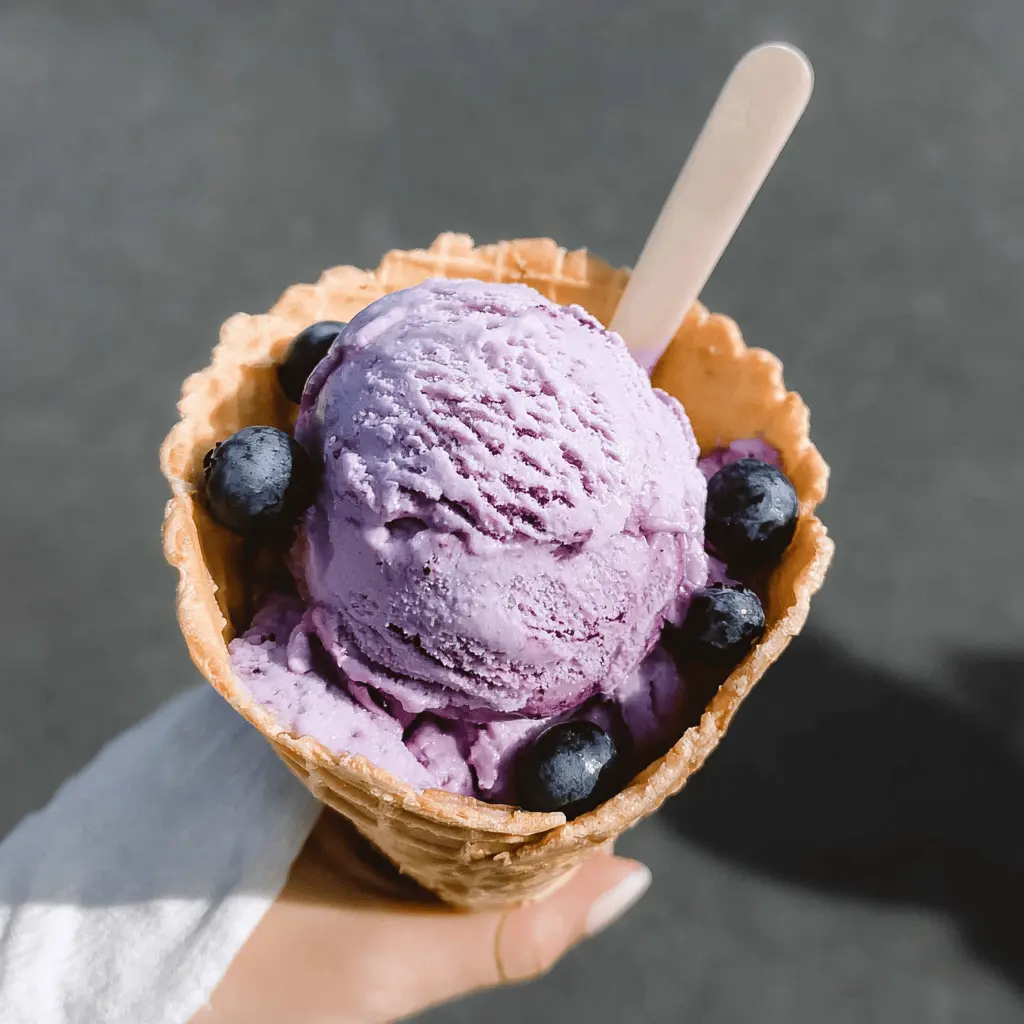
Key Ingredients & Tips for Blueberry Ice Cream
- Ripe Blueberries: Use ripe, sweet blueberries for the best natural flavor in your ice cream.
- Cooked Berry Compote: Briefly cook down the blueberries with sugar to intensify their flavor and create a smoother mixture.
What You Need for Blueberry Ice Cream
- 2 cups fresh or frozen blueberries
- 1/2 cup granulated sugar (divided)
- 1 tablespoon lemon juice
- 1 1/2 cups heavy cream
- 1/2 cup whole milk
⏱️ Time: 25 mins active + 5 hrs freeze🍽️ Yields: 1.25 quarts
How to Make Blueberry Ice Cream
Step 1: Prepare Blueberry Puree
In a saucepan, combine blueberries, 1/4 cup sugar, and lemon juice. Cook over medium heat for about 5-7 minutes until berries burst and soften. Mash them lightly. Let cool completely, then blend into a smooth puree if you prefer.
Step 2: Make and Churn Base
In a large bowl, whisk together the remaining 1/4 cup sugar with heavy cream and milk until sugar dissolves. Stir in the cooled blueberry puree. Cover and chill the mixture for at least 2 hours. Pour into your ice cream maker and churn according to instructions until it reaches soft-serve consistency.
📝 Final Note
For an extra blueberry swirl, reserve some puree and gently fold it into the ice cream after churning before freezing.
Easy Homemade Custard Ice Cream Recipe
This classic, rich custard ice cream recipe delivers a super smooth and creamy texture. It’s a timeless favorite that everyone enjoys.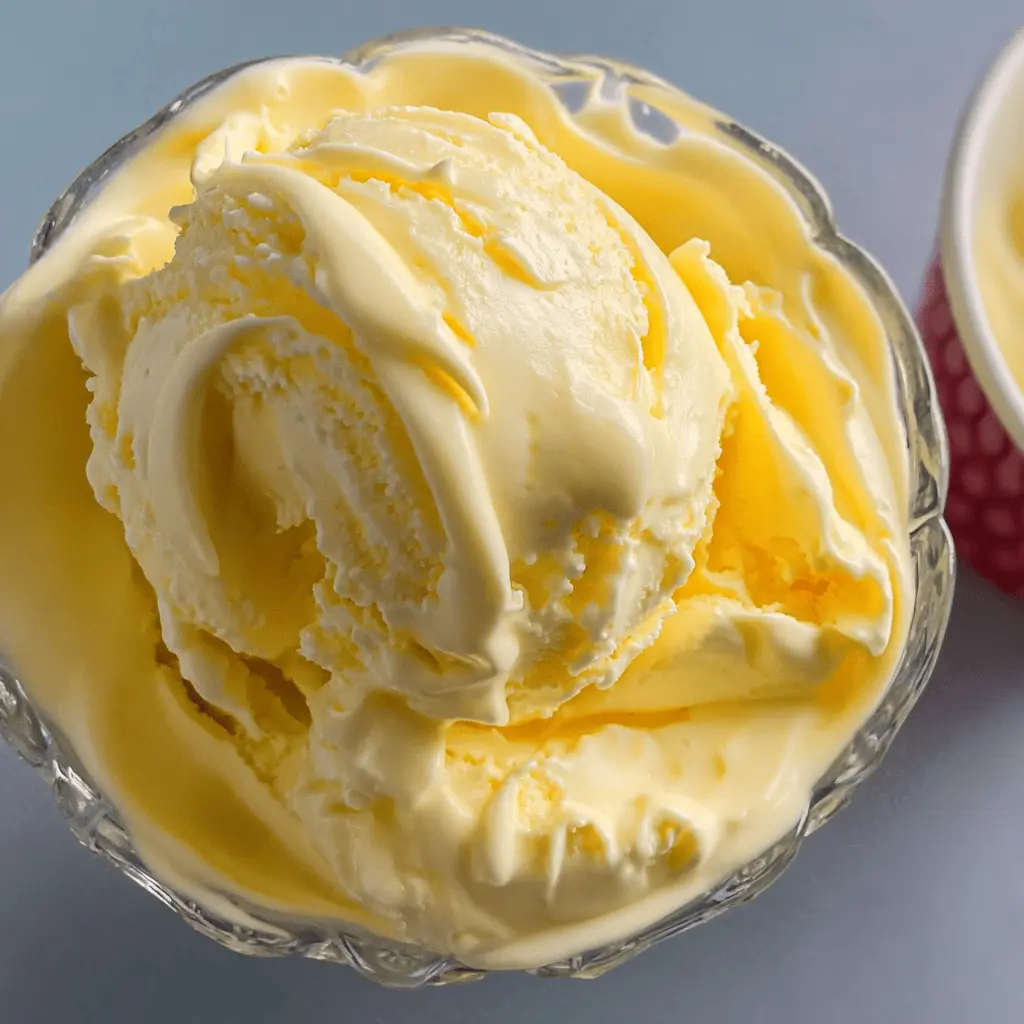
Key Ingredients & Tips for Custard Ice Cream
- Temper the Eggs: Slowly add hot cream to the egg yolks to prevent them from scrambling.
- Real Vanilla: Use a vanilla bean or good quality vanilla extract for the best flavor in your custard base.
What You Need for Custard Ice Cream
- 6 large egg yolks
- 3/4 cup granulated sugar
- 2 cups heavy cream
- 1 cup whole milk
- 1 vanilla bean, split and scraped (or 2 tsp vanilla extract)
⏱️ Time: 30 mins active + 6 hrs freeze🍽️ Yields: 1 quart
How to Make Custard Ice Cream
Step 1: Make the Custard Base
In a medium saucepan, combine heavy cream, milk, and vanilla bean (if using). Heat over medium until just simmering. In a separate bowl, whisk egg yolks and sugar until light and creamy. Slowly pour about half of the hot cream mixture into the egg yolk mixture, whisking constantly to temper the eggs.
Step 2: Finish and Churn
Pour the tempered egg mixture back into the saucepan with the remaining cream. Cook over low heat, stirring constantly, until the mixture thickens enough to coat the back of a spoon (about 175°F/80°C). Strain the custard into a clean bowl, remove vanilla bean, and stir in vanilla extract if using. Chill thoroughly, then churn in your ice cream maker.
📝 Final Note
Do not let the custard boil, or the eggs may curdle. Low and slow is key for a smooth finish.
Easy Homemade Honeycomb Ice Cream Recipe
Enjoy the sweet crunch of golden honeycomb pieces in this easy homemade honeycomb ice cream. It’s a unique and fun dessert with great texture.
Key Ingredients & Tips for Honeycomb Ice Cream
- Good Honeycomb: You can use store-bought honeycomb or make your own for fresh crunch.
- Add Honeycomb Late: Fold in the crushed honeycomb towards the end of churning or before freezing to keep it crunchy.
What You Need for Honeycomb Ice Cream
- 2 cups heavy cream
- 1 (14 ounce) can sweetened condensed milk
- 1 teaspoon vanilla extract
- 1 cup crushed honeycomb candy
⏱️ Time: 20 mins active + 5 hrs freeze🍽️ Yields: 1.5 quarts
How to Make Honeycomb Ice Cream
Step 1: Create the Cream Base
In a large bowl, whip the heavy cream until stiff peaks form. In a separate bowl, mix the sweetened condensed milk and vanilla extract until smooth.
Step 2: Combine and Freeze
Gently fold the condensed milk mixture into the whipped cream. Once combined, fold in the crushed honeycomb candy. Pour into a freezer-safe container, cover, and freeze for at least 5 hours, or until firm.
📝 Final Note
If you’re making your own honeycomb, make sure it’s fully cooled and hardened before crushing and adding to the ice cream.
Easy Homemade Key Lime Pie Ice Cream Recipe
Enjoy the tangy and sweet flavors of key lime pie in this refreshing homemade ice cream. It tastes just like a slice of pie in a frozen treat.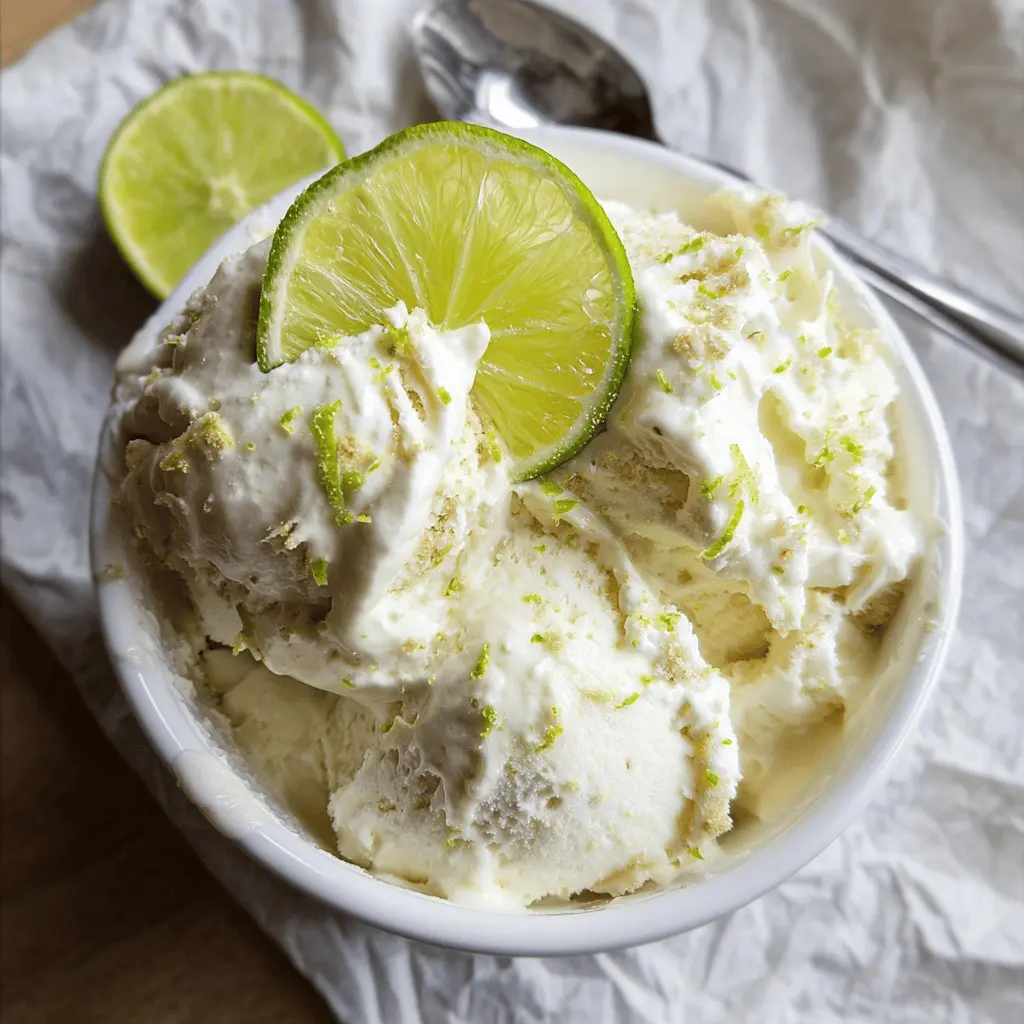
Key Ingredients & Tips for Key Lime Pie Ice Cream
- Fresh Key Lime Juice: Using fresh key lime juice makes a big difference in flavor compared to bottled juice.
- Graham Cracker Crumbs: Layering or folding in graham cracker crumbs gives that classic pie crust texture.
What You Need for Key Lime Pie Ice Cream
- 2 cups heavy cream
- 1 (14 ounce) can sweetened condensed milk
- 1/2 cup fresh key lime juice
- 1 tablespoon key lime zest
- 1 cup graham cracker crumbs
⏱️ Time: 15 mins active + 6 hrs freeze🍽️ Yields: 1.25 quarts
How to Make Key Lime Pie Ice Cream
Step 1: Mix the Base
In a large bowl, whip the heavy cream until stiff peaks form. In a separate bowl, combine the sweetened condensed milk, key lime juice, and key lime zest. Mix until smooth.
Step 2: Combine and Freeze
Gently fold the condensed milk mixture into the whipped cream. Spoon half of the mixture into a freezer-safe container. Sprinkle with half of the graham cracker crumbs. Add the remaining ice cream mixture, then top with the rest of the crumbs. Freeze for at least 6 hours, or overnight.
📝 Final Note
For a stronger lime flavor, add an extra teaspoon of zest to the mixture.
Easy Homemade Pineapple Ice Cream Recipe
This tropical, sweet, and bright pineapple ice cream is a perfect sunny treat. It’s refreshing and simple to make at home.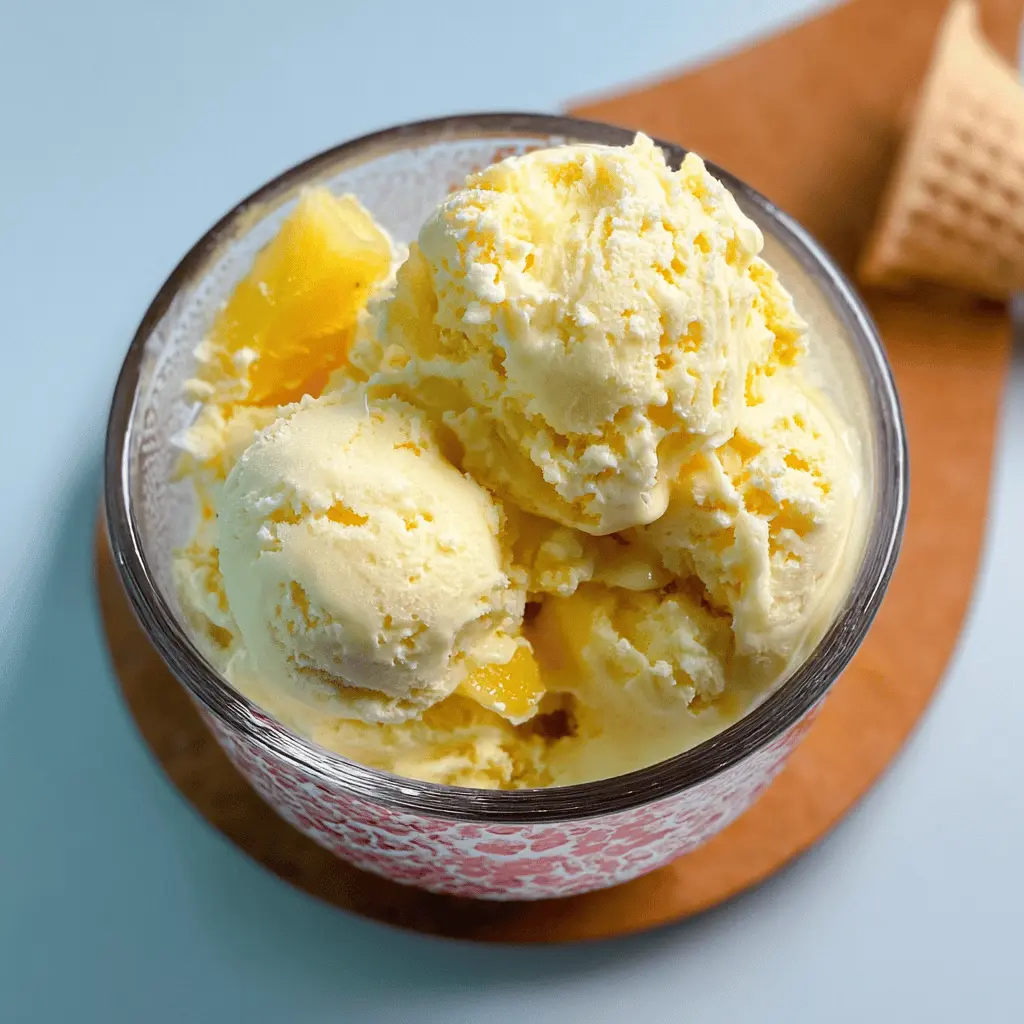
Key Ingredients & Tips for Pineapple Ice Cream
- Fresh or Canned: You can use either fresh pureed pineapple or well-drained canned crushed pineapple.
- Reduce Moisture: If using fresh pineapple, simmer it briefly to reduce some of its water content for a creamier ice cream.
What You Need for Pineapple Ice Cream
- 2 cups heavy cream
- 1 cup whole milk
- 3/4 cup granulated sugar
- 1 1/2 cups crushed pineapple (well-drained)
- 1 teaspoon vanilla extract
⏱️ Time: 20 mins active + 5 hrs freeze🍽️ Yields: 1 quart
How to Make Pineapple Ice Cream
Step 1: Prepare Pineapple Base
If using fresh pineapple, puree it and then gently simmer it in a saucepan for 5-10 minutes to reduce moisture. Let it cool completely. If using canned, ensure it is very well drained.
Step 2: Combine and Churn
In a large bowl, whisk together heavy cream, whole milk, and sugar until the sugar dissolves. Stir in the cooled pineapple and vanilla extract. Chill the mixture for at least 2 hours. Pour into your ice cream maker and churn according to manufacturer’s directions until thick and frozen.
📝 Final Note
For an extra tropical flavor, add 1/4 teaspoon of coconut extract to the mixture.
Easy No Churn Blueberry Pie Ice Cream Recipe
Get the comforting taste of blueberry pie in a simple no-churn ice cream. This recipe doesn’t need a special machine and is super easy to make.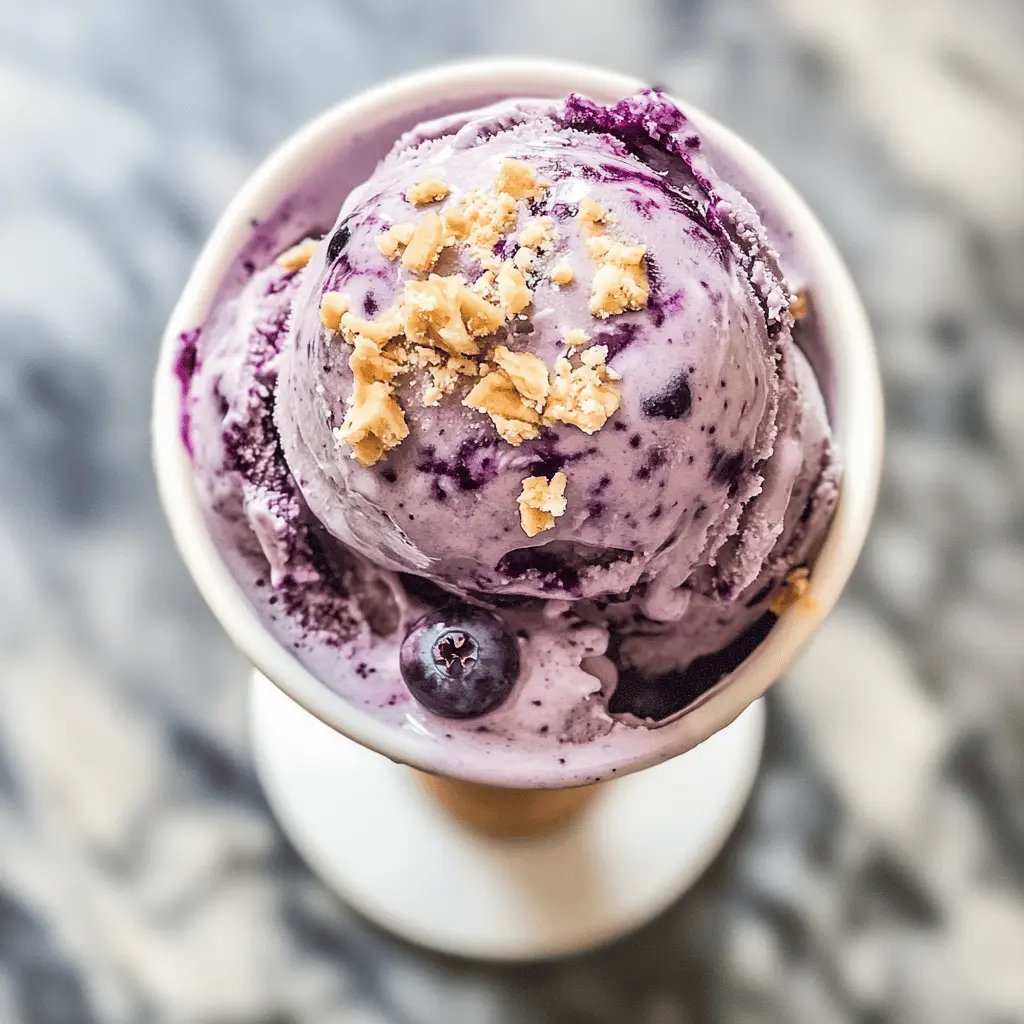
Key Ingredients & Tips for No-Churn Blueberry Pie Ice Cream
- Canned Pie Filling: Store-bought blueberry pie filling works perfectly and makes this recipe extra easy.
- Gentle Folding: Fold the ingredients gently to keep the whipped cream light and airy, which is key for no-churn ice cream.
What You Need for No-Churn Blueberry Pie Ice Cream
- 2 cups heavy cream
- 1 (14 ounce) can sweetened condensed milk
- 1 teaspoon vanilla extract
- 1 cup blueberry pie filling
- 1/2 cup graham cracker crumbs
⏱️ Time: 15 mins active + 8 hrs freeze🍽️ Yields: 1.5 quarts
How to Make No-Churn Blueberry Pie Ice Cream
Step 1: Whip the Cream
In a large, chilled bowl, whip the heavy cream until stiff peaks form. This is important for the airy texture of no-churn ice cream.
Step 2: Combine and Freeze
Gently fold the sweetened condensed milk and vanilla extract into the whipped cream until just combined. Then, gently fold in the blueberry pie filling and graham cracker crumbs. Pour the mixture into a freezer-safe container, cover, and freeze for at least 8 hours, or preferably overnight, until firm.
📝 Final Note
Make sure your blueberry pie filling is cool before adding it to prevent melting the whipped cream.