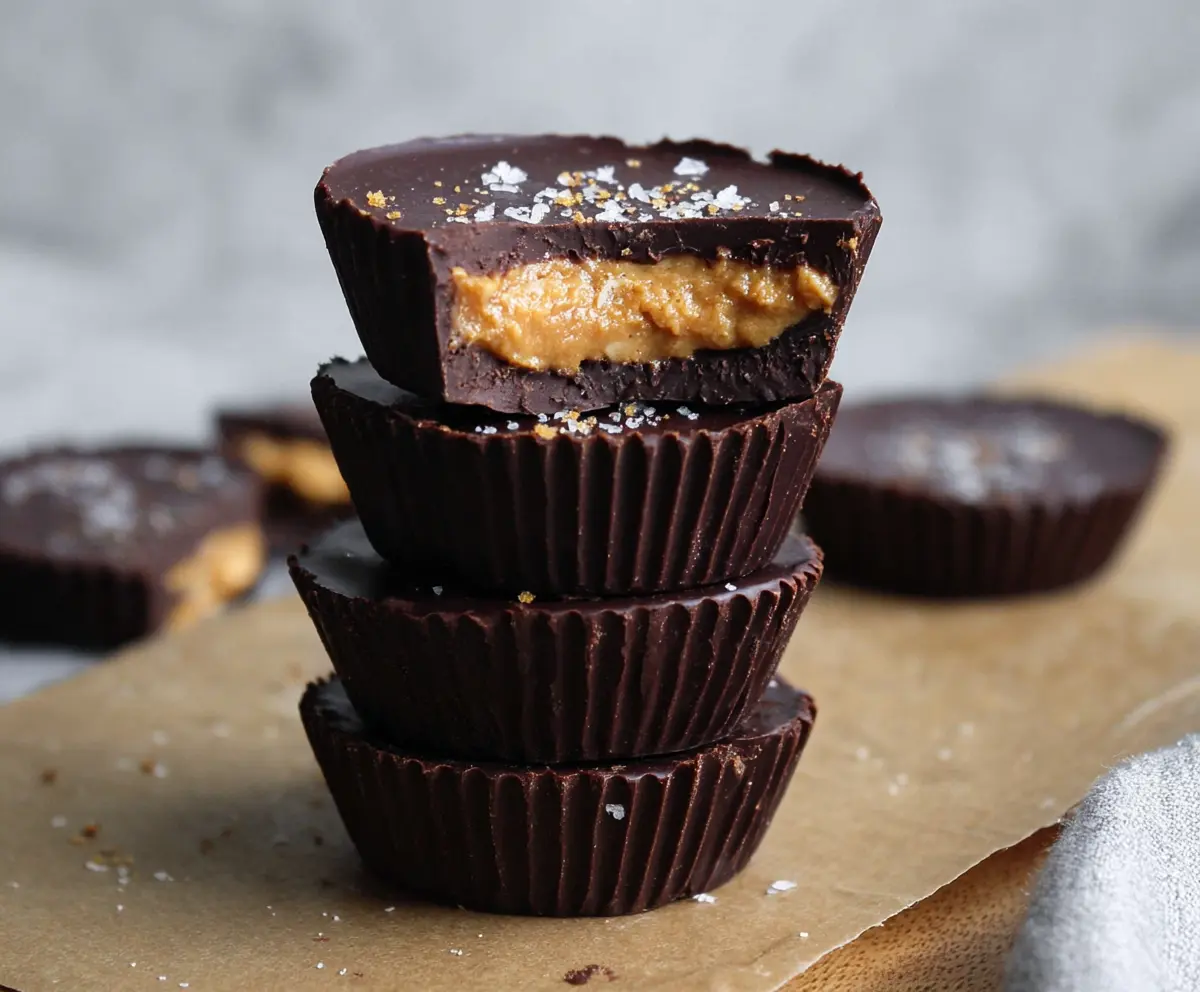
These Dark Chocolate Peanut Butter Cups are like little treasures of delight! With creamy peanut butter wrapped in rich dark chocolate, each bite is a happy surprise.
If you’re like me, you might find it hard to stop at just one—who can resist that combo? They’re perfect for sweet cravings anytime, and making them is super fun! 🎉
Key Ingredients & Substitutions
Dark Chocolate: Use chocolate chips or chopped chocolate with 60-70% cacao for a rich flavor. If you’re looking for alternatives, semisweet chocolate works well, or go for dairy-free chocolate if you need a vegan option.
Peanut Butter: Creamy natural peanut butter makes a smooth filling. For a change, try almond butter or sun butter for nut-free options. Just ensure they are creamy for easy mixing!
Powdered Sugar: This adds sweetness and helps the peanut butter firm up. If you’re avoiding sugar, you can use sweeteners like agave or maple syrup but adjust the consistency accordingly. A little less peanut butter can help with this.
Salt: A pinch enhances the flavor of chocolate and peanut butter. You can skip it, but flaky sea salt on top adds a nice touch if you enjoy a sweet and salty combo.
How Do You Melt Chocolate Perfectly?
Melted chocolate is a key part of this recipe, so doing it right is crucial. Here’s how to avoid burning it:
- **Microwave Method:** Place chocolate in a bowl and heat in 20-second increments. Stir after each interval. Stop when it’s almost melted, then stir to finish melting.
- **Double Boiler Method:** Fill a pot with water and bring it to a simmer. Place a heat-proof bowl on top, ensuring it doesn’t touch the water. Add chocolate and stir until melted.
Whichever method you choose, be patient, and stir gently to keep the chocolate smooth and glossy. This ensures a beautiful finish on your cups!
Dark Chocolate Peanut Butter Cups
Ingredients You’ll Need:
For the Chocolate Shell:
- 1 cup dark chocolate chips (or chopped dark chocolate, around 60-70% cacao)
For the Peanut Butter Filling:
- 1/2 cup natural creamy peanut butter (smooth texture)
- 2 tbsp powdered sugar (adjust for sweetness)
- 1/8 tsp salt (optional, plus more for sprinkling on top)
- 1/2 tsp vanilla extract (optional)
Additional Items:
- Mini cupcake liners or silicone molds
How Much Time Will You Need?
This delightful treat requires about 15 minutes of prep time and 30-45 minutes for chilling, plus an additional 10-15 minutes for the chocolate to set initially. In total, you’ll spend about 1 hour preparing them, and then they’ll need some time in the fridge to become perfectly firm!
Step-by-Step Instructions:
1. Prepare the Molds:
Start by lining a mini muffin tin with cupcake liners or use silicone molds. This will make it easy to pop out the peanut butter cups once they are set.
2. Melt the Chocolate:
In a microwave-safe bowl, melt the dark chocolate chips in 20-second increments, stirring well after each round, until smooth. You can also melt the chocolate using a double boiler method if you prefer. Just ensure you don’t burn the chocolate!
3. Create the Chocolate Shells:
Once melted, spoon about 1 teaspoon of the chocolate into the bottom of each mold. Use the back of the spoon to spread the chocolate slightly up the sides of the molds to form a shell. This helps to hold the filling.
4. Chill to Set:
Place the tray in the refrigerator or freezer for about 10-15 minutes, or until the chocolate is firm and set to the touch. This step is important for creating a solid base for the filling.
5. Prepare the Peanut Butter Filling:
In a medium bowl, combine the creamy peanut butter, powdered sugar, salt, and vanilla extract. Mix well until fully combined and smooth. This filling should be thick and creamy yet easy to spoon into the molds.
6. Fill the Chocolate Shells:
Once the chocolate shells are firm, spoon approximately 1 teaspoon of the peanut butter mixture into the center of each shell. Be careful not to overfill them, as you’ll need to cover them with more chocolate.
7. Seal with Chocolate:
To finish, cover the peanut butter layer with another teaspoon of melted chocolate, ensuring it completely seals the filling. Smooth it out gently to ensure an even layer on top.
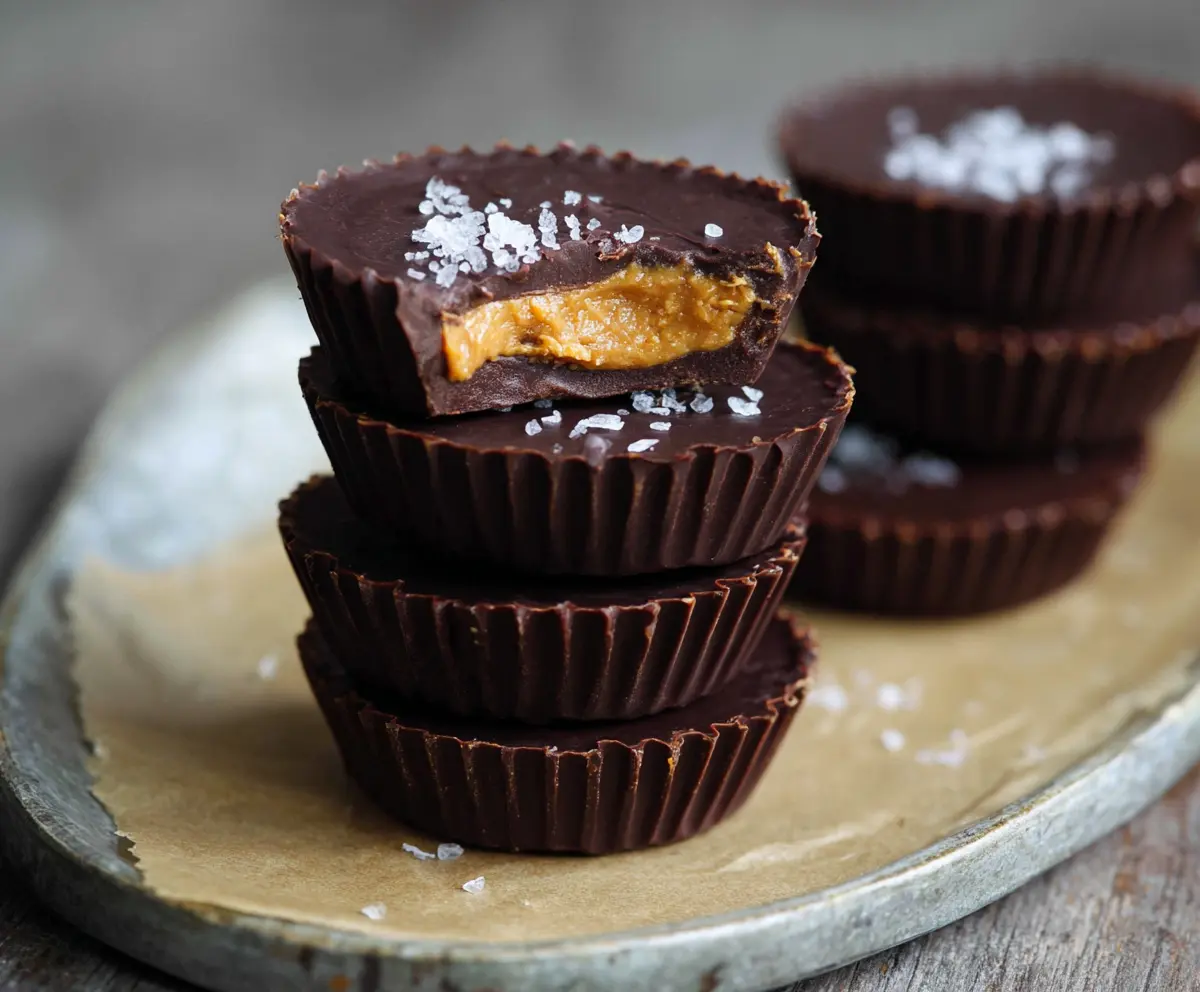
8. Add a Touch of Salt:
If you like a sweet and salty flavor, sprinkle a small pinch of flaky sea salt on top of each cup while the chocolate is still soft.
9. Final Chill:
Refrigerate the completed cups for at least 30 minutes to let the chocolate set completely. This will give them a nice firm texture, perfect for enjoying!
10. Enjoying and Storing:
Once set, carefully remove the peanut butter cups from the molds or liners. Store them in an airtight container in the refrigerator. For the best taste and texture, let them sit out for a few minutes before eating.
Enjoy your homemade, rich Dark Chocolate Peanut Butter Cups with a lovely balance of creamy peanut butter and bittersweet dark chocolate!
Can I Use Milk Chocolate Instead of Dark Chocolate?
Absolutely! You can substitute milk chocolate if you prefer a sweeter flavor, but keep in mind that it will alter the rich profile of the cups. For a little added depth, you could use a mix of milk and dark chocolate.
How Do I Store Leftovers?
Store leftover peanut butter cups in an airtight container in the refrigerator for up to a week. If you’d like to keep them longer, they can also be frozen for up to three months. Just let them thaw in the fridge before enjoying!
Can I Make These Vegan?
Yes, you can make this recipe vegan by using dairy-free dark chocolate and substituting the peanut butter with a vegan alternative if desired. Always check labels to ensure they fit your dietary needs!
What Can I Use Instead of Powdered Sugar?
If you don’t have powdered sugar, you can blend granulated sugar in a blender or food processor until fine. Alternatively, you could use a liquid sweetener like agave or maple syrup, but you might need to adjust the measurement to avoid making the filling too runny.