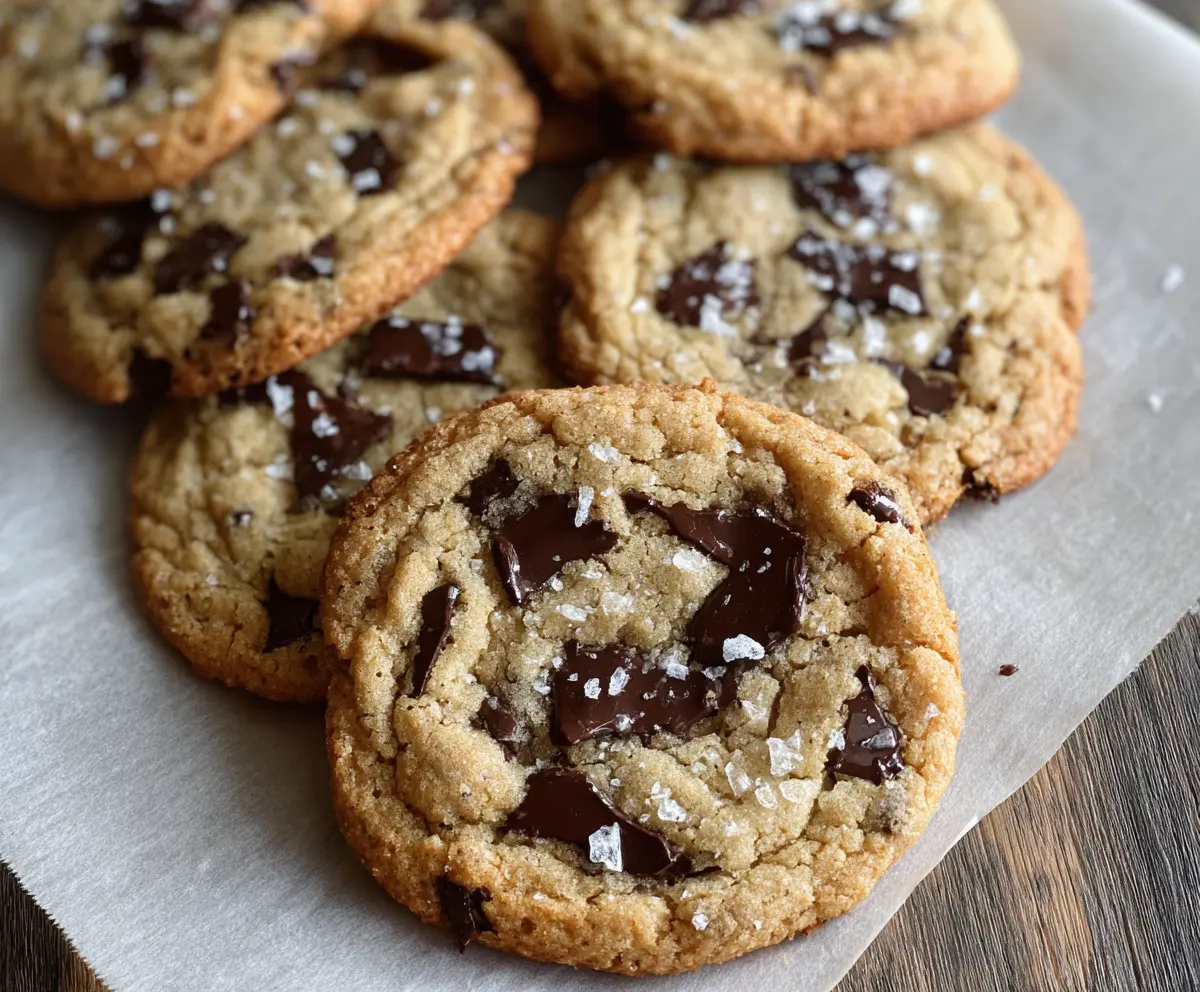
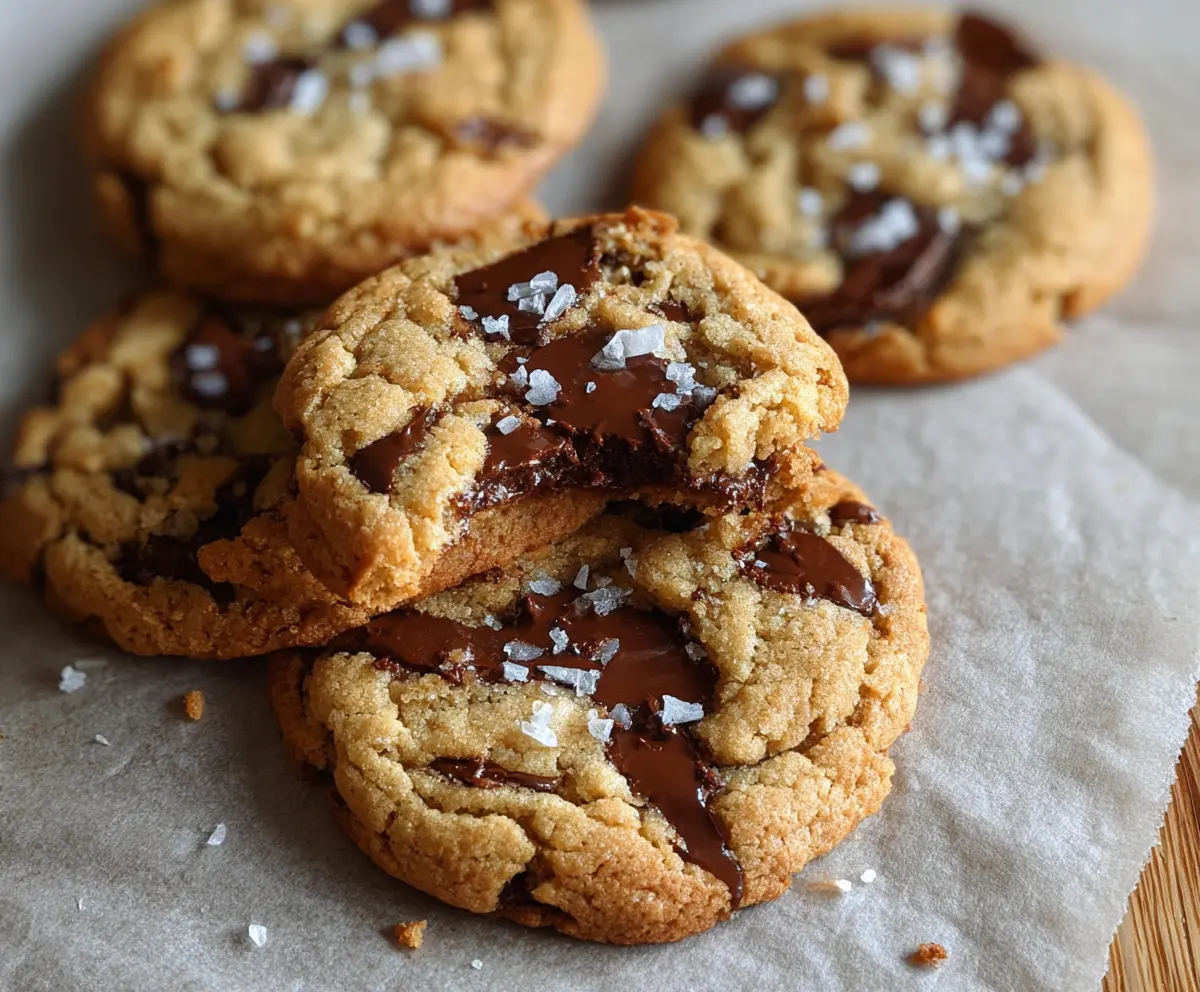
These Brown Butter Sourdough Discard Cookies are soft and chewy with a nutty flavor that comes from the brown butter. Plus, they are a great way to use sourdough discard!
Trust me, the smell of these cookies baking is irresistible! I often find myself snacking on the dough before they even hit the oven. A little treat that makes good use of leftovers—what’s not to love?
Key Ingredients & Substitutions
Unsalted Butter: Browning the butter adds a nutty flavor to the cookies. If you’re out of unsalted butter, you can use salted butter, but just skip the added salt in the recipe.
Sourdough Starter Discard: This is the star ingredient! If you don’t have sourdough discard, you could use plain yogurt or apple sauce for a similar texture, but it will change the taste a bit.
Brown Sugar: Brown sugar gives these cookies a rich taste and moisture. If you’re in a pinch, you can use white sugar, just keep in mind it might make the cookies a bit less chewy.
Dark Chocolate Chunks: I love using dark chocolate as it pairs beautifully with the nutty brown butter. You can swap it for milk chocolate or even white chocolate if you prefer something sweeter.
How Do You Brown Butter Without Burning It?
Browning butter is all about attention and timing. Here’s how to get it just right:
- Start with a medium saucepan and let the butter melt fully.
- Keep stirring or swirling the pan to ensure even cooking. This prevents any part from burning.
- Look for foaming bubbles—this means the water is evaporating. Then, watch for a golden brown color and nutty aroma.
- Remove from heat as soon as it turns brown; don’t walk away!
Remember, it can go from perfectly brown to burnt quickly, so stay close to the stove. It’s worth the extra effort for that depth of flavor!
How to Make Brown Butter Sourdough Discard Cookies
Ingredients You’ll Need:
For the Cookie Dough:
- 1 cup (2 sticks) unsalted butter
- 1 cup sourdough starter discard (unfed)
- 3/4 cup brown sugar, packed
- 1/4 cup granulated sugar
- 1 large egg
- 2 teaspoons vanilla extract
- 2 1/4 cups all-purpose flour
- 1 teaspoon baking soda
- 1/2 teaspoon salt
- 1 1/2 cups dark chocolate chunks or chips
For the Finishing Touch:
- Flaky sea salt for sprinkling (optional)
How Much Time Will You Need?
This recipe will take about 15 minutes of preparation and around 10-11 minutes of baking time. So, in total, you’re looking at about 30 minutes to get these scrumptious cookies ready from start to finish!
Step-by-Step Instructions:
1. Preheat Your Oven:
Start by preheating your oven to 350°F (175°C). While it heats up, line your baking sheets with parchment paper. This will make cleanup a breeze and prevent the cookies from sticking.
2. Brown the Butter:
In a medium saucepan, melt the butter over medium heat. Keep an eye on it as it melts, swirling it occasionally. Look for it to foam and then turn a lovely golden brown, producing a delicious nutty aroma. This should take about 4-6 minutes. Once browned, remove it from the heat and let it cool slightly.
3. Mix the Sugars and Sourdough:
In a large mixing bowl, combine the sourdough discard, brown sugar, and granulated sugar. Use a whisk to mix them until the mixture is smooth and well combined.
4. Add the Browned Butter and Egg:
To the sugar mixture, add the slightly cooled browned butter, the beaten egg, and vanilla extract. Stir everything together until it’s well mixed.
5. Combine the Dry Ingredients:
In another bowl, whisk together the flour, baking soda, and salt. This helps to ensure an even distribution of the leavening agent in the dough.
6. Bring It All Together:
Slowly add the dry ingredients to the wet mixture, stirring until just combined. Be careful not to overmix, as this could result in tougher cookies.
7. Add Chocolate Flavor:
Now it’s time to fold in those delicious chocolate chunks or chips. Distribute them evenly throughout the dough for maximum chocolatey goodness!
8. Scoop the Dough:
Using a rounded tablespoon, scoop dough and place it onto the prepared baking sheets. Make sure there’s about 2 inches between each scoop, as these cookies will spread a little while baking.
9. Bake Them Up:
Place your baking sheets in the oven and bake the cookies for 9-11 minutes. They should be golden around the edges but still look slightly soft in the middle when you take them out.
10. Add the Finishing Touch:
As soon as they are out of the oven, sprinkle a little flaky sea salt on top if you’d like. It adds a beautiful contrast to the sweetness of the cookies!
11. Cool Them Down:
Let the cookies cool on the baking sheet for about 5 minutes. After that, transfer them to a wire rack to cool completely. Enjoy the warm, nutty, and chocolaty cookies with that nice hint of sea salt!
12. Enjoy Your Cookies!
These Brown Butter Sourdough Discard Cookies are best served warm, but they can be stored in an airtight container for a few days if they last that long.
Happy baking!
Can I Use a Different Type of Fat Instead of Butter?
Yes, you can use coconut oil or a non-dairy butter alternative if you’re looking for a dairy-free option. Just ensure it’s solid, similar to the consitency of butter, to achieve the best texture.
What Should I Do If I Don’t Have Sourdough Discard?
If you don’t have sourdough discard on hand, you can replace it with plain yogurt or buttermilk for a similar moisture level. Keep in mind that it may slightly alter the flavor profile but will still yield delicious cookies!
How Should I Store These Cookies?
Store any leftover cookies in an airtight container at room temperature for up to 3 days. For longer storage, you can freeze them by placing them in a single layer in a freezer-safe bag. Thaw at room temperature when you’re ready to enjoy them.
Can I Add Nuts or Other Mix-ins?
Absolutely! Feel free to add chopped nuts like walnuts or pecans, or even dried fruit for a twist. Just keep the total mix-ins to about 2 cups to maintain the balance of the recipe.