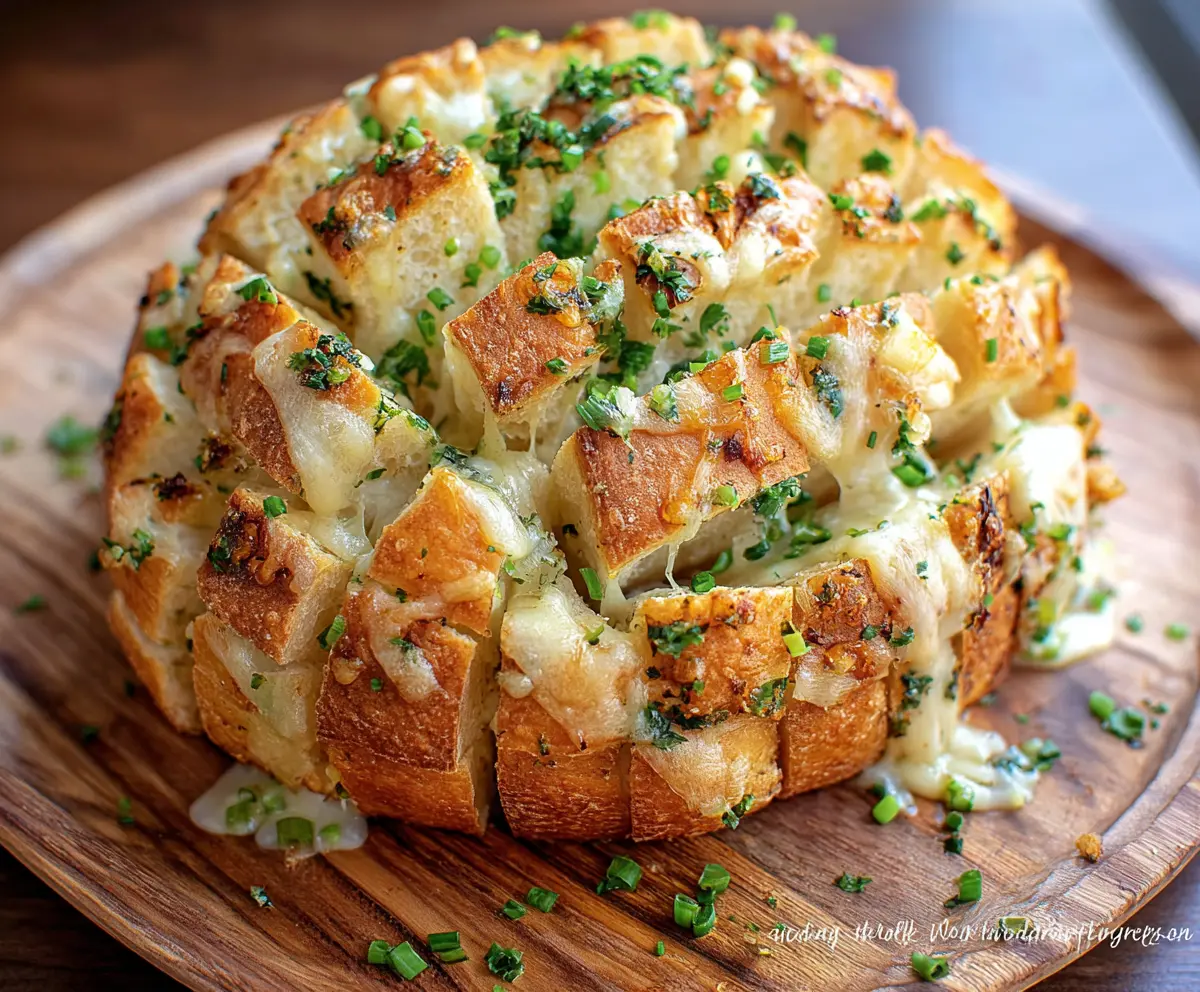
This Bloomin’ Onion Garlic Bread is a fun twist on your regular garlic bread! It’s shaped like a blooming onion and packed with buttery garlic goodness. Perfect for sharing with friends!
Making this bread is a party in the kitchen! Just slice, butter, and bake until it’s crispy and golden. It’s hard to resist grabbing a piece, and yes, I definitely “accidentally” don’t count how many I munch on! 😂
Key Ingredients & Substitutions
Bread: A round loaf like sourdough or boule works best for this recipe. If these aren’t available, try using any crusty artisan bread or even a breadstick loaf.
Butter: Unsalted butter is great for controlling the saltiness of the dish. You can substitute with olive oil for a lighter version, but it won’t be as rich.
Garlic: Fresh garlic gives the best flavor, but you can use garlic powder if needed. Use about 1 teaspoon for every clove for a similar taste.
Cheese: Mozzarella is the classic choice, but feel free to mix in cheddar, gouda, or any melting cheese you love. Vegan cheese works too!
Herbs: Fresh parsley and chives bring lovely flavor. If you don’t have fresh herbs, dried herbs can be used, but you’ll need less (about 1 teaspoon each).
How Do You Cut the Bread Perfectly for Blooming?
Cutting the bread into the bloomin’ shape can be tricky, but it’s all about keeping it intact at the bottom. Here’s how to do it:
- Start by placing the loaf on a cutting board. Keep it steady by holding it on the sides.
- Make vertical cuts about 1 inch apart—don’t cut all the way to the bottom! Aim for about an inch of the base to remain intact.
- Next, make the horizontal cuts, again stopping short at the base. The goal is to create a crosshatch pattern.
- When you’re done, the bread should still hold together, resembling a blooming onion when pulled apart.
Take your time with the cuts; it’ll make a big difference when you’re filling it with that delicious garlic butter and cheese!
How to Make Bloomin Onion Garlic Bread
Ingredients You’ll Need:
- 1 large round loaf of crusty bread (such as sourdough or boule)
- 1/2 cup (1 stick) unsalted butter, melted
- 3-4 cloves garlic, finely minced
- 1 cup shredded mozzarella cheese (or a mix of mozzarella and cheddar)
- 2 tablespoons fresh parsley, finely chopped
- 2 tablespoons fresh chives, finely chopped
- 1/4 teaspoon salt
- 1/4 teaspoon black pepper
- Optional: 1/4 teaspoon onion powder or smoked paprika for extra flavor
How Much Time Will You Need?
This recipe will take about 10 minutes to prepare and about 30-35 minutes to bake. So, in total, you’re looking at around 45 minutes before this delicious garlic bread is ready to be enjoyed!
Step-by-Step Instructions:
1. Preheat Your Oven:
Start by preheating your oven to 350°F (175°C). This will ensure that your garlic bread bakes evenly and comes out perfectly golden.
2. Cut the Bread:
Take your large round loaf of crusty bread and place it on a cutting board. With a sharp knife, make vertical cuts about 1 inch apart all around the loaf. Be careful not to cut all the way through the bottom—leave about an inch of the base intact! Then, make horizontal cuts to form a grid pattern. This will create little “petals” that will come apart beautifully when served.
3. Mix the Garlic Butter:
In a small bowl, combine the melted butter with minced garlic, chopped parsley, chives, salt, black pepper, and the optional onion powder or smoked paprika if you’re using it. Mix well until everything is nicely combined.
4. Drizzle the Garlic Butter:
Now it’s time to get messy! Gently separate the cuts in the bread to create little pockets. Using a spoon or a brush, drizzle or brush the garlic butter mixture evenly into each crevice and over the top of the loaf. Try to get as much of that delicious butter into the bread as you can!
5. Add the Cheese:
Stuff the shredded mozzarella (or your chosen cheese) into the cuts, pushing it down into the crevices so it gets nice and melty while baking. Make sure to fill every nook and cranny!
6. Wrap and Bake:
Wrap the entire loaf loosely in aluminum foil and place it on a baking sheet. Bake in the preheated oven for about 15-20 minutes until the butter is absorbed and the cheese starts to melt.
7. Unwrap and Finish Baking:
After 15-20 minutes, remove the foil and continue baking for an additional 10-15 minutes, or until the bread is crispy and golden on top and the cheese is bubbling on the inside.
8. Cool and Garnish:
Once baked, take the loaf out of the oven and let it cool slightly. Before serving, you can garnish it with any extra chopped chives and parsley for a fresh touch.
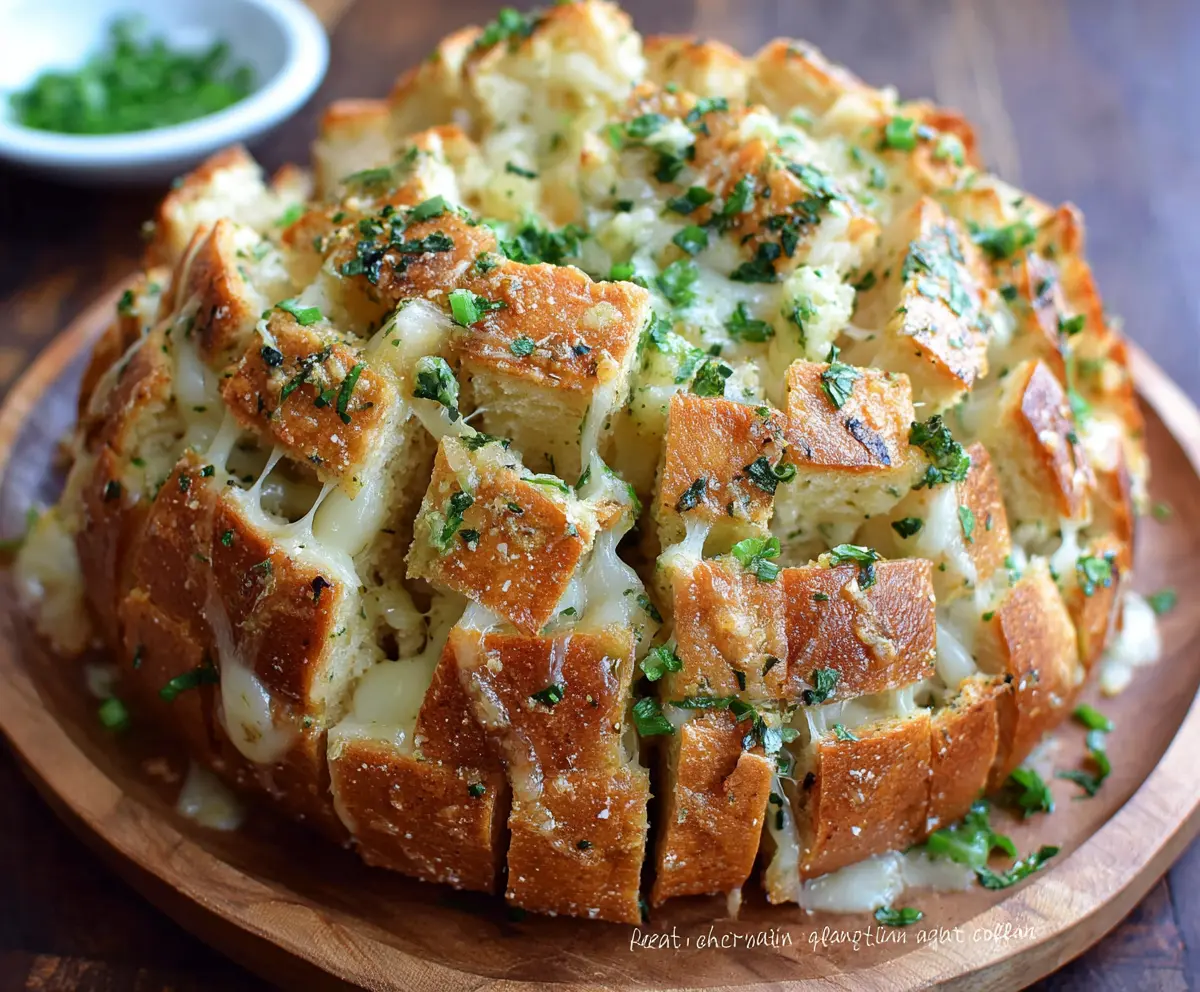
9. Serve and Enjoy:
Dig in while it’s warm! Pull apart the “petals” of the bread to reveal the gooey, cheesy, and garlicky goodness inside. Perfect for sharing as a fun appetizer or snack!
Enjoy your homemade Bloomin’ Onion Garlic Bread, an irresistible treat for garlic lovers!
Can I Use Frozen Garlic Instead of Fresh?
Yes, you can use frozen minced garlic! Just remember to adjust the amount; about 1 teaspoon of frozen garlic is equivalent to 1 clove of fresh garlic. Thaw it and mix it with your butter as you would with fresh garlic.
How Can I Store Leftovers?
If you have any leftovers, store them in an airtight container in the fridge for up to 2 days. To reheat, wrap the bread in foil and bake at 350°F (175°C) for about 10-15 minutes until warmed through.
Can I Make This Recipe Gluten-Free?
Absolutely! Just use a gluten-free round loaf for the bread. The rest of the ingredients are naturally gluten-free, ensuring everyone can enjoy this tasty treat!
What Should I Serve with Bloomin Onion Garlic Bread?
This garlic bread pairs wonderfully with pasta dishes, soups, or salads. It also makes an excellent appetizer for any gathering or game day snack!