Today, I’m excited to share some wonderful apple crisp recipes that bring warmth and comfort to any day. If you love sweet, baked treats with a fruity topping, you’re in the right place.
I’ve gathered two fantastic ways to enjoy classic apple crisp, perfect for a cozy afternoon or a simple dessert after dinner. You’ll find options for a traditional crisp and easy-to-serve bars.
Jump to Recipe:
Sweet & Easy Apple Blueberry Crisp Recipe
This apple blueberry crisp is a lovely combination of sweet apples and tart blueberries under a crunchy oat topping. It’s a classic dessert that always makes people happy.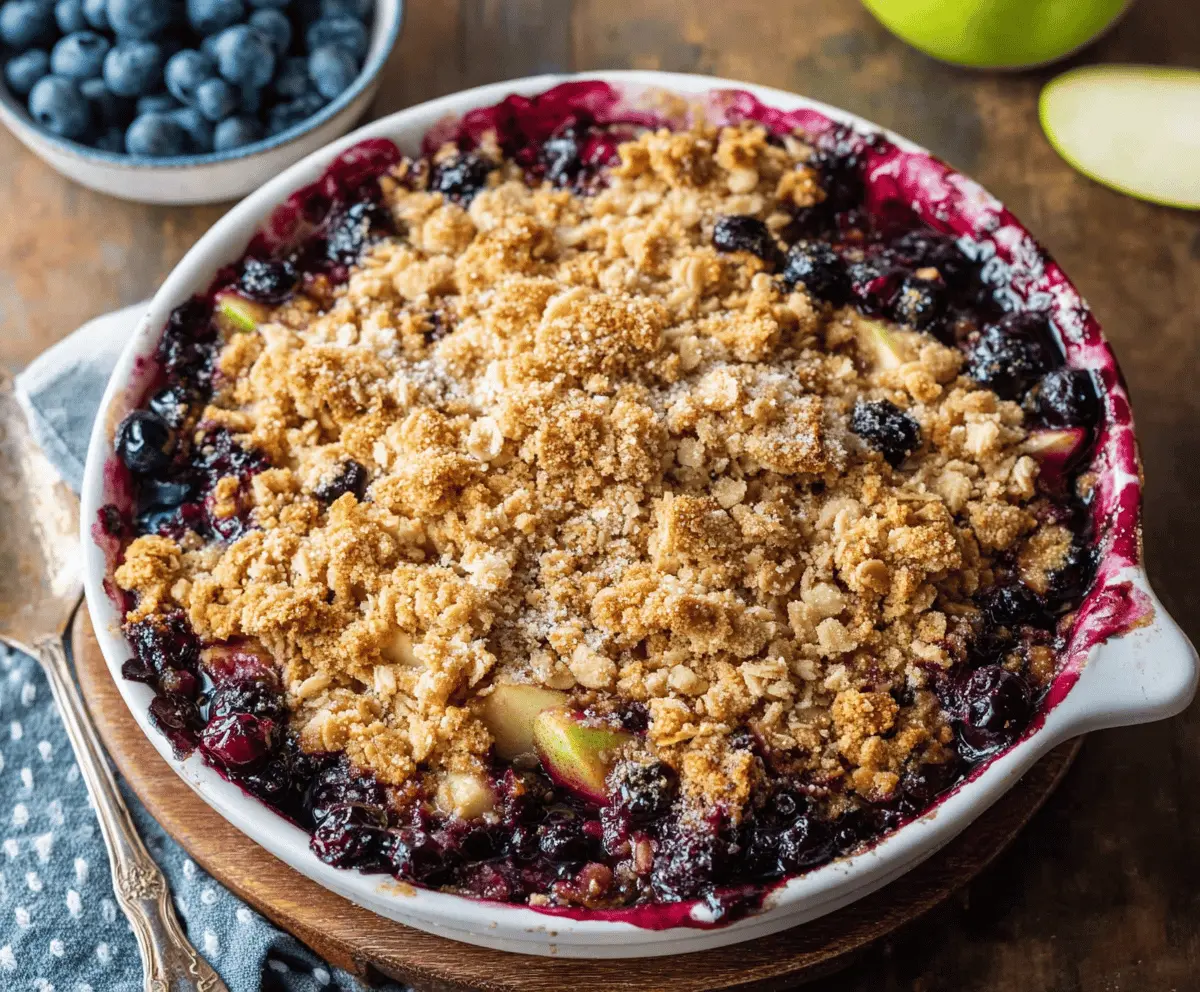
Key Ingredients & Tips for Apple Crisp
- Apple Choice: Use firm, slightly tart apples like Granny Smith or Honeycrisp for the best texture and taste in your crisp.
- Oat Topping: Make sure your topping is crumbly but still holds together slightly for a perfect crunchy finish on your baked crisp.
- Fresh Blueberries: Fresh blueberries add a bright, juicy counterpoint to the apples, making the flavor well-balanced.
What You Need for Apple Blueberry Crisp
- 6 medium apples, peeled, cored, and sliced
- 1 cup fresh blueberries
- 1/2 cup all-purpose flour
- 1/2 cup rolled oats
- 1/2 cup brown sugar
- 1/4 cup cold butter, cubed
⏱️ Time: 50 mins🍽️ Yields: 6 servings
How to Make This Apple Crisp
Step 1: Prep Fruit
Preheat your oven to 375°F (190°C). In a large baking dish, gently mix the sliced apples and blueberries together.
Step 2: Make the Topping
In a separate medium bowl, combine the flour, oats, brown sugar, and cold cubed butter. Use your fingers to mix until the butter is pea-sized and the mixture is crumbly.
Step 3: Bake the Crisp
Sprinkle the oat topping evenly over the fruit in your baking dish. Bake for 35-40 minutes, or until the fruit is bubbly and the topping is nicely golden brown.
📝 Final Note
Serve this apple crisp warm with a scoop of vanilla ice cream or a dollop of whipped cream for an extra sweet treat.
Homemade Apple Crisp Shortbread Bars Recipe
These apple crisp shortbread bars combine a buttery shortbread base with a sweet, spiced apple topping and a crumbly crisp finish. They are easy to serve and a delight for any sweet craving.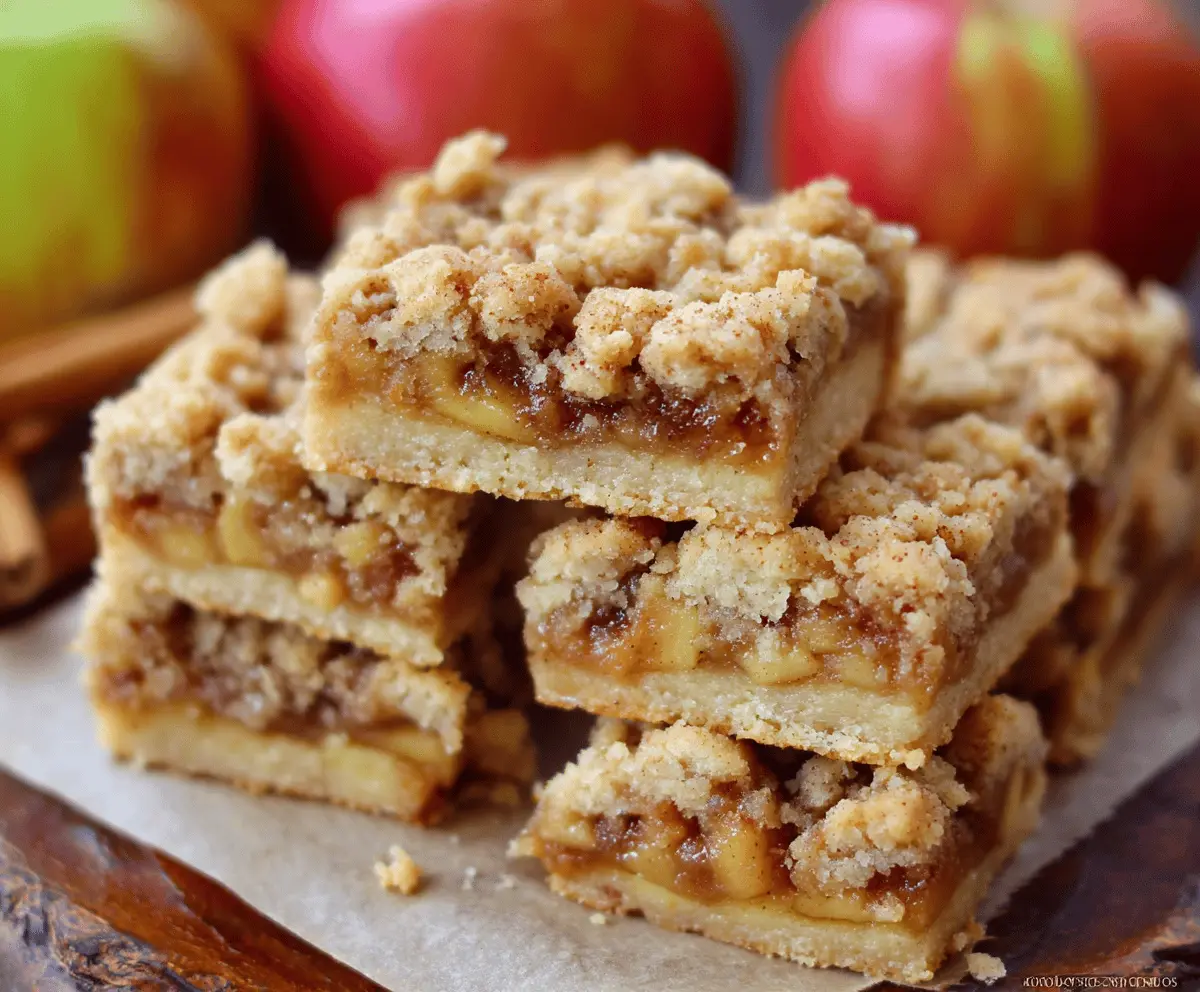
Key Ingredients & Tips for Apple Bars
- Buttery Base: Use cold butter for the shortbread base to get a tender, crumbly crust that holds up well.
- Apple Slices: Slice your apples thinly so they soften properly and evenly during baking, fitting perfectly in each bar.
- Brown Sugar: Using brown sugar in the apple filling adds a nice molasses note that complements the apples well.
What You Need for Apple Shortbread Bars
- 1 cup all-purpose flour
- 1/2 cup cold butter, cubed
- 1/4 cup granulated sugar
- 2 medium apples, peeled, cored, and thinly sliced
- 1/4 cup brown sugar
- 1/4 cup rolled oats
- 2 tablespoons butter, melted
⏱️ Time: 60 mins🍽️ Yields: 12 bars
How to Make These Apple Shortbread Bars
Step 1: Make Shortbread Base
Preheat your oven to 350°F (175°C). In a bowl, mix flour, cubed butter, and granulated sugar until it forms crumbles. Press this mixture firmly into an 8×8 inch baking pan lined with parchment paper. Bake for 15 minutes.
Step 2: Prepare Apple Topping
While the shortbread base is baking, take another bowl and mix the thinly sliced apples with the brown sugar.
Step 3: Assemble and Bake
Remove the shortbread from the oven. Evenly spread the apple mixture over the warm shortbread base. In a small bowl, combine the oats and melted butter, then sprinkle this over the apples. Bake for another 30-35 minutes, or until the apples are tender and the topping is golden.
📝 Final Note
Let the apple crisp shortbread bars cool completely in the pan before cutting them into squares; this helps them set nicely and keeps their shape.